Este artículo analiza y demuestra los pasos para instalar y configurar un httpd servicio para servir contenido a través de HTTPS. El propósito de usar HTTPS en lugar del HTTP básico es que el contenido se encripta mientras está en tránsito. Esto significa que si alguien captura el tráfico entre su sistema y el servidor web, no podrá ver lo que se envía. Si estuviera accediendo a un servidor HTTP básico, podrían ver el contenido.
Los requisitos previos
Para comenzar, el entorno que usaremos es una máquina virtual básica Red Hat Enterprise Linux (RHEL) 8.2. Asegúrese de que el sistema esté registrado en un Satélite de Red Hat o en el Portal de clientes de Red Hat. Para obtener ayuda con eso, consulte al Asistente de registro.
Después de registrar el sistema y adjuntar las suscripciones correctas, instale httpd y mod_ssl :
[root@webserver ~]# dnf install httpd mod_ssl
### Output truncated ###

Installed:
  apr-1.6.3-9.el8.x86_64                                                         apr-util-1.6.1-6.el8.x86_64
  apr-util-bdb-1.6.1-6.el8.x86_64                                                apr-util-openssl-1.6.1-6.el8.x86_64
  httpd-2.4.37-21.module+el8.2.0+5008+cca404a3.x86_64                            httpd-filesystem-2.4.37-21.module+el8.2.0+5008+cca404a3.noarch
  httpd-tools-2.4.37-21.module+el8.2.0+5008+cca404a3.x86_64                      mod_http2-1.11.3-3.module+el8.2.0+7758+84b4ca3e.1.x86_64
  mod_ssl-1:2.4.37-21.module+el8.2.0+5008+cca404a3.x86_64                        redhat-logos-httpd-81.1-1.el8.noarch

Complete!
[root@webserver ~]#
[ A los lectores también les gustó: Sobrevivir a una auditoría de seguridad con Enterprise Linux ]
Generación de certificados
Después de instalar los RPM, genere certificados de una CA de su elección, si aún no los tiene:
[root@webserver ~]# openssl req -newkey rsa:2048 -nodes -keyout /etc/pki/tls/private/httpd.key -x509 -days 3650 -out /etc/pki/tls/certs/httpd.crt
Generating a RSA private key
..............+++++
..........................................................................+++++
writing new private key to '/etc/pki/tls/private/httpd.key'
-----
You are about to be asked to enter information that will be incorporated
into your certificate request.
What you are about to enter is what is called a Distinguished Name or a DN.
There are quite a few fields, but you can leave some blank
For some fields, there will be a default value,
If you enter '.', the field will be left blank.
-----
Country Name (2 letter code) [XX]:US
State or Province Name (full name) []:North Carolina
Locality Name (eg, city) [Default City]:Holly Springs
Organization Name (eg, company) [Default Company Ltd]:Example Co
Organizational Unit Name (eg, section) []:Example Unit
Common Name (eg, your name or your server's hostname) []:webserver
Email Address []:root@localhost

[root@webserver ~]#
Puede verificar que se crearon los archivos:
[root@webserver ~]# ls -l /etc/pki/tls/private/ /etc/pki/tls/certs/
/etc/pki/tls/certs/:
total 4
lrwxrwxrwx. 1 root root   49 Oct 18  2019 ca-bundle.crt -> /etc/pki/ca-trust/extracted/pem/tls-ca-bundle.pem
lrwxrwxrwx. 1 root root   55 Oct 18  2019 ca-bundle.trust.crt -> /etc/pki/ca-trust/extracted/openssl/ca-bundle.trust.crt
-rw-r--r--. 1 root root 1489 Oct  1 12:02 httpd.crt

/etc/pki/tls/private/:
total 4
-rw-------. 1 root root 1704 Oct  1 12:00 httpd.key
Ahora que se han generado los certificados, debe crear un directorio desde el cual su servidor web servirá el contenido. Por ejemplo:
[root@webserver ~]# mkdir /var/www/https Puede poner contenido de muestra en el index.html archivo allí:
[root@webserver ~]# echo secure content > /var/www/https/index.html
[root@webserver ~]# cat /var/www/https/index.html
secure content
[root@webserver ~]#
Seguridad SELinux
Verifique que se haya establecido el contexto SELinux correcto:
[root@webserver ~]# ll -Z /var/www
total 0
drwxr-xr-x. 2 root root system_u:object_r:httpd_sys_script_exec_t:s0 6 Dec  2  2019 cgi-bin
drwxr-xr-x. 2 root root system_u:object_r:httpd_sys_content_t:s0     6 Dec  2  2019 html
drwxr-xr-x. 2 root root unconfined_u:object_r:httpd_sys_content_t:s0 6 Oct  1 12:34 https

[root@webserver ~]#
Verifique también que el contexto de SELinux sea correcto para su index.html archivo:
[root@webserver ~]# ll -Z /var/www/https/index.html
-rw-r--r--. 1 root root unconfined_u:object_r:httpd_sys_content_t:s0 15 Oct  1 15:07 /var/www/https/index.html

[root@webserver ~]#
Ahora que tiene los certificados correctos, el directorio ha sido creado y SELinux es correcto, dígale a httpd para usar las teclas:
[root@webserver ~]# vi /etc/httpd/conf.d/ssl.conf
[root@webserver ~]# grep -e httpd.crt -e httpd.key /etc/httpd/conf.d/ssl.conf -B1
#SSLCertificateFile /etc/pki/tls/certs/localhost.crt
SSLCertificateFile /etc/pki/tls/certs/httpd.crt
--
#SSLCertificateKeyFile /etc/pki/tls/private/localhost.key
SSLCertificateKeyFile /etc/pki/tls/private/httpd.key
[root@webserver ~]#
[root@webserver ~]# grep DocumentRoot /etc/httpd/conf.d/ssl.conf
DocumentRoot "/var/www/https"
#DocumentRoot "/var/www/html"

[root@webserver ~]#
Configuración del cortafuegos
El httpd El servicio ahora se ha configurado, pero debemos asegurarnos de que el tráfico esté permitido a través del firewall. Habilitaremos el puerto 443 y luego recargaremos el firewall:
[root@webserver ~]# firewall-cmd --permanent --add-port=443/tcp
success

[root@webserver ~]# firewall-cmd --reload
success
Configuración final y pruebas
Habilite el httpd servicio para iniciar en el arranque y luego reiniciar el httpd servicio:
[root@webserver ~]# systemctl enable httpd
Created symlink /etc/systemd/system/multi-user.target.wants/httpd.service → /usr/lib/systemd/system/httpd.service.
[root@webserver ~]# systemctl restart httpd
[root@webserver ~]# systemctl status httpd
● httpd.service - The Apache HTTP Server
   Loaded: loaded (/usr/lib/systemd/system/httpd.service; enabled; vendor preset: disabled)
   Active: active (running) since Thu 2020-10-01 12:35:26 EDT; 1min 30s ago
     Docs: man:httpd.service(8)
 Main PID: 33387 (httpd)
   Status: "Total requests: 1; Idle/Busy workers 100/0;Requests/sec: 0.0112; Bytes served/sec:  40 B/sec"
    Tasks: 213 (limit: 74790)
   Memory: 35.6M
   CGroup: /system.slice/httpd.service
           ├─33387 /usr/sbin/httpd -DFOREGROUND
           ├─33390 /usr/sbin/httpd -DFOREGROUND
           ├─33391 /usr/sbin/httpd -DFOREGROUND
           ├─33392 /usr/sbin/httpd -DFOREGROUND
           └─33393 /usr/sbin/httpd -DFOREGROUND

Oct 01 12:35:26 webserver.example.com systemd[1]: Starting The Apache HTTP Server...
Oct 01 12:35:26 webserver.example.com systemd[1]: Started The Apache HTTP Server.
Oct 01 12:35:26 webserver.example.com httpd[33387]: Server configured, listening on: port 443, port 80

[root@webserver ~]#
Puede verificar que el servicio se está ejecutando y escuchando en el puerto 443 usando netstat :
[root@webserver ~]# netstat -tlpn
Active Internet connections (only servers)
Proto Recv-Q Send-Q Local Address Foreign Address State PID/Program name
tcp 0 0 192.168.124.1:53 0.0.0.0:* LISTEN 1505/dnsmasq
tcp 0 0 0.0.0.0:22 0.0.0.0:* LISTEN 1438/sshd
tcp 0 0 127.0.0.1:631 0.0.0.0:* LISTEN 1904/cupsd
tcp 0 0 0.0.0.0:111 0.0.0.0:* LISTEN 1/systemd
tcp6 0 0 :::80 :::* LISTEN 33387/httpd
tcp6 0 0 :::22 :::* LISTEN 1438/sshd
tcp6 0 0 ::1:631 :::* LISTEN 1904/cupsd
tcp6 0 0 :::443 :::* LISTEN 33387/httpd
tcp6 0 0 :::111 :::* LISTEN 1/systemd
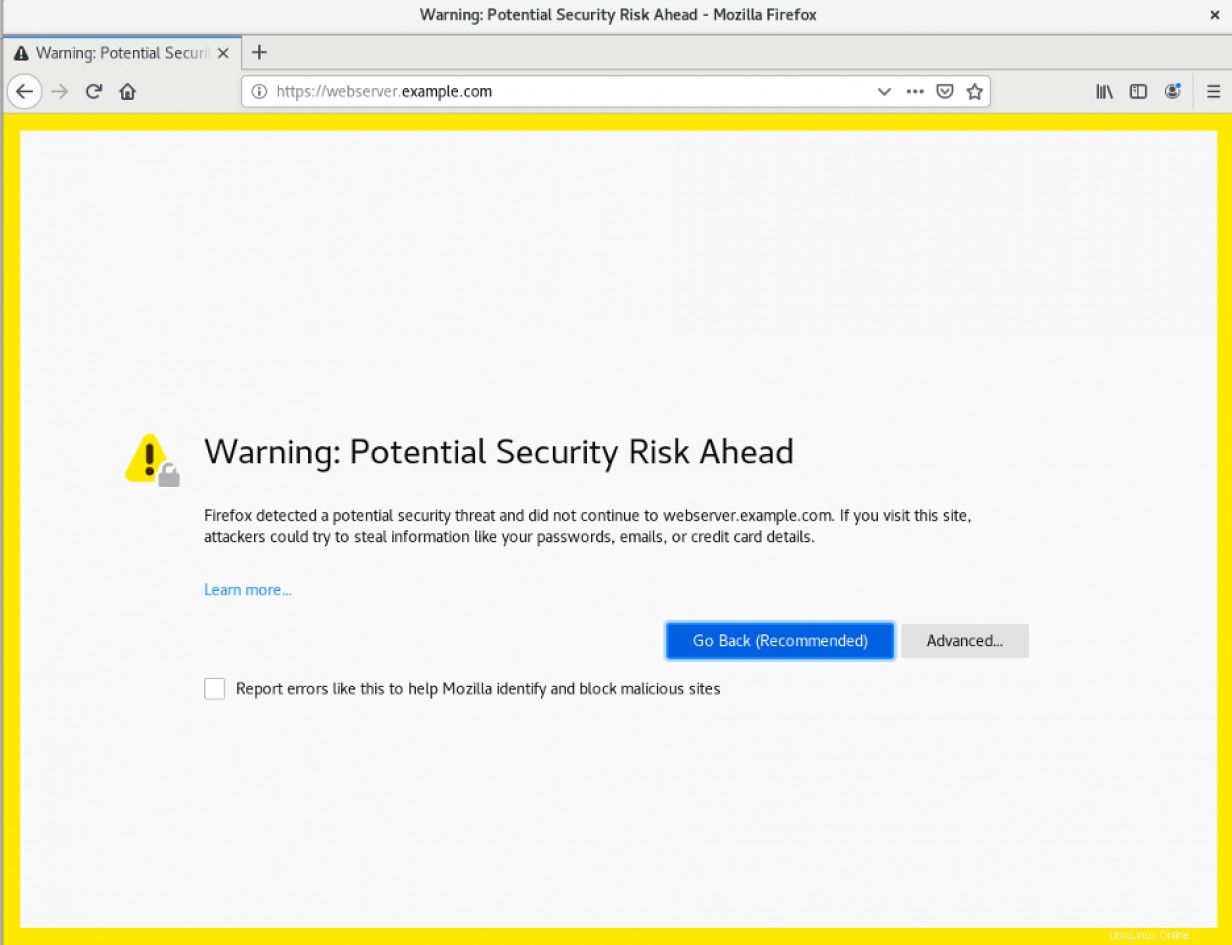
[root@webserver ~]# En este punto, el servicio web debería funcionar correctamente y ser visible para sus clientes. Para verificar eso, intente usar su navegador web para llegar al sitio. Si está utilizando un certificado autofirmado, deberá aceptarlo:
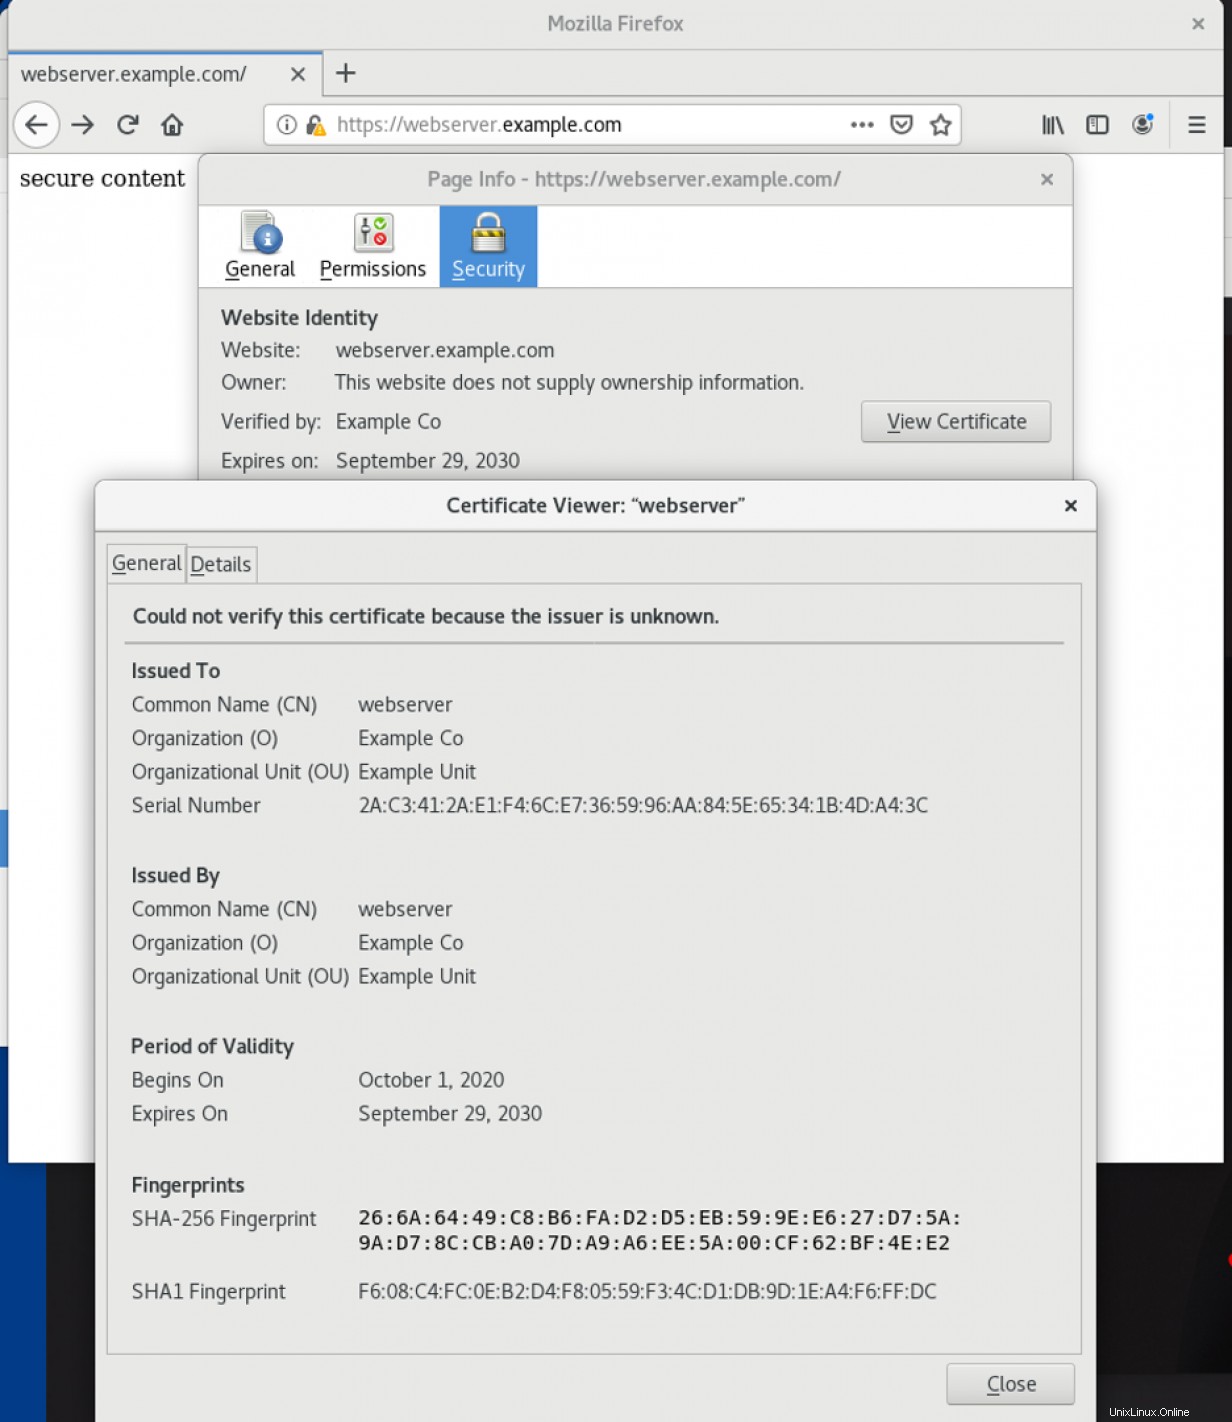
Al hacer clic en el ícono de candado en la barra de direcciones y luego seleccionar "Ver certificado", verá la información del certificado que ingresó:
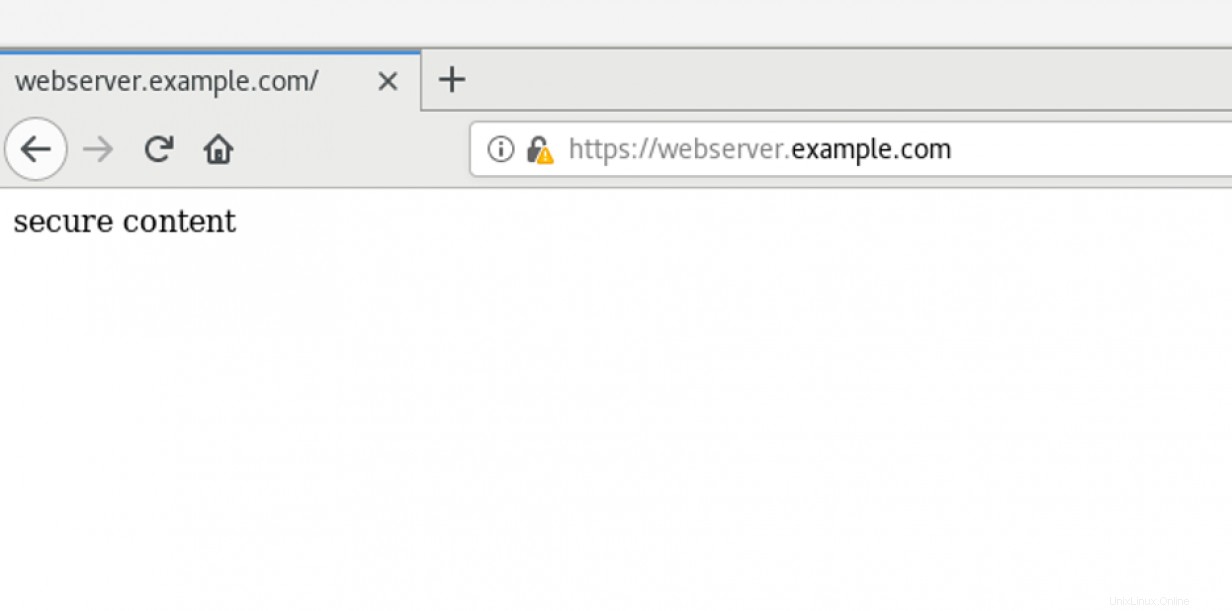
Podrá ver el contenido en el /var/www/https/index.html archivo que se le está entregando a través de HTTPS:
[ ¿Quiere obtener más información sobre seguridad? Consulte la lista de verificación de cumplimiento y seguridad de TI. ]
Resumir
Este artículo le mostró cómo instalar y configurar un servidor HTTPS y luego verificar que el servicio funciona correctamente. Las configuraciones adicionales pueden incluir la configuración del registro remoto, la habilitación de PHP o la configuración de una base de datos para el sitio web.