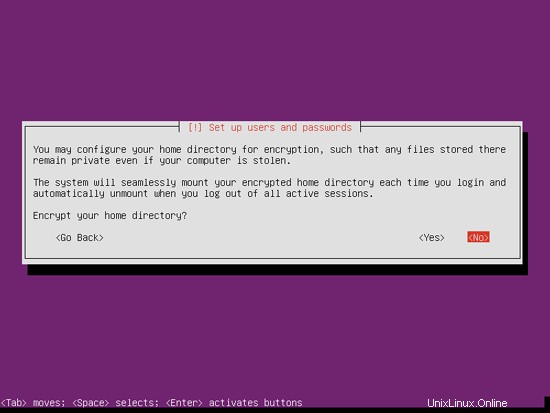
No necesito un directorio privado encriptado, así que elijo No aquí:
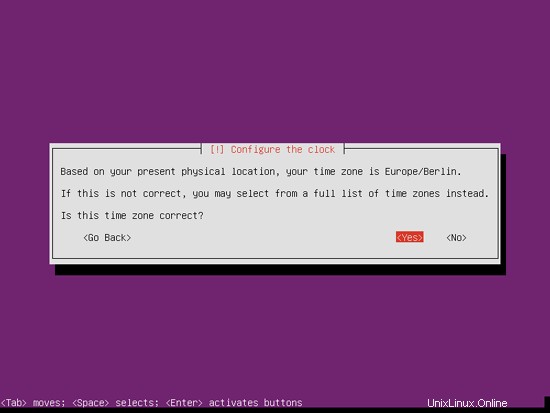
Compruebe si el instalador detectó su zona horaria correctamente. Si es así, seleccione Sí, de lo contrario No:
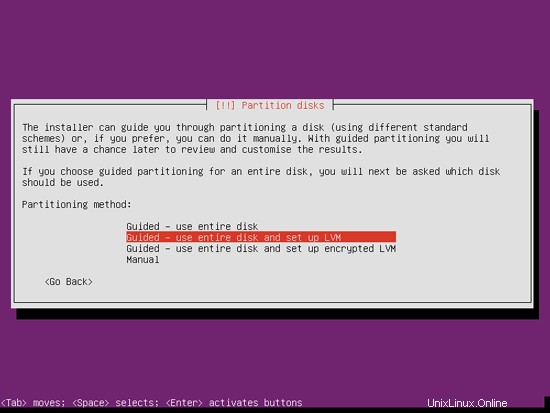
Ahora tienes que particionar tu disco duro. En aras de la simplicidad, selecciono Guiado:use todo el disco y configure LVM; esto creará un grupo de volúmenes con dos volúmenes lógicos, uno para el sistema de archivos / y otro para el intercambio (por supuesto, la partición depende totalmente de usted, si sabe lo que está haciendo, también puede configurar sus particiones manualmente).
Seleccione el disco que desea particionar:

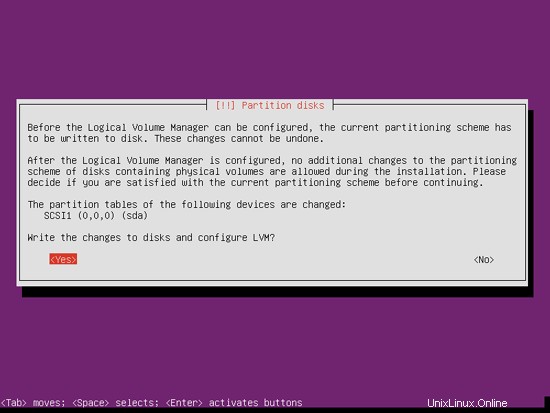
Cuando se le pregunte ¿Escribir los cambios en los discos y configurar LVM?, seleccione Sí:
Si ha seleccionado Guiado:usar todo el disco y configurar LVM, el particionador creará un gran grupo de volúmenes que usa todo el espacio del disco. Ahora puede especificar la cantidad de ese espacio en disco que deben usar los volúmenes lógicos para / e intercambio. Tiene sentido dejar algo de espacio sin usar para que luego pueda expandir sus volúmenes lógicos existentes o crear nuevos; esto le brinda más flexibilidad.

Cuando haya terminado, presione Sí cuando se le pregunte ¿Escribir los cambios en los discos?:

Posteriormente, sus nuevas particiones se crearán y formatearán.
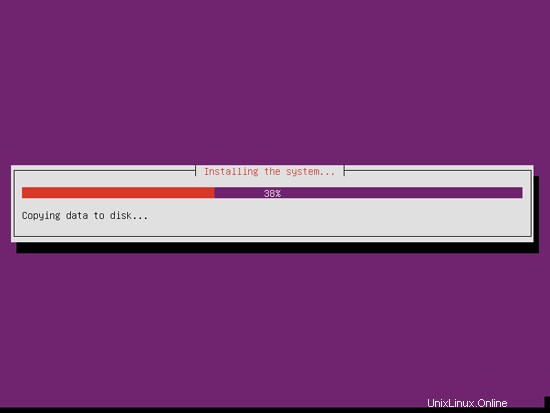
Ahora se está instalando el sistema base:
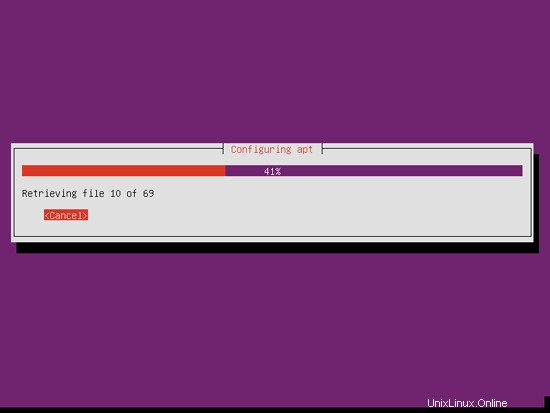
A continuación, se configura el administrador de paquetes apt. Deje la línea del proxy HTTP vacía a menos que esté utilizando un servidor proxy para conectarse a Internet:

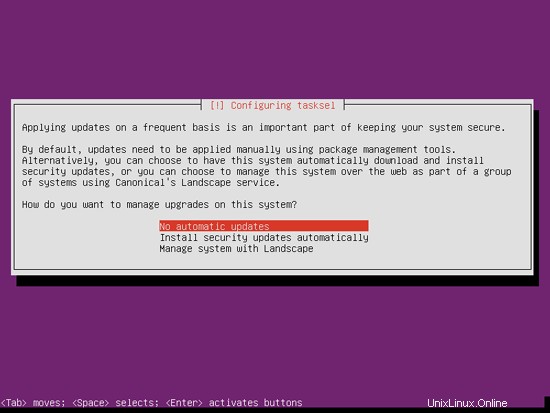
Soy un poco anticuado y me gusta actualizar mis servidores manualmente para tener más control, por lo tanto, selecciono Sin actualizaciones automáticas. Por supuesto, depende de usted lo que seleccione aquí:
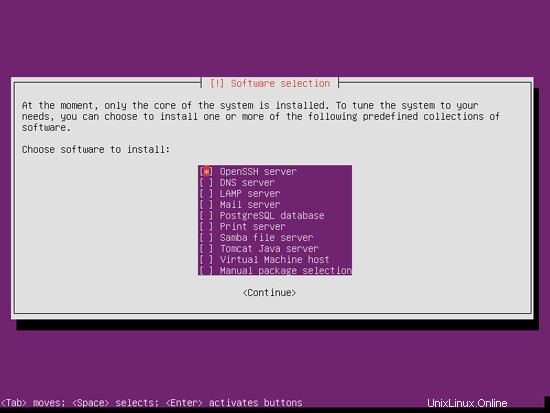
Necesitamos un servidor DNS, de correo y LAMP, pero sin embargo no selecciono ninguno de ellos ahora porque me gusta tener control total sobre lo que se instala en mi sistema. Instalaremos los paquetes necesarios manualmente más adelante. El único elemento que selecciono aquí es el servidor OpenSSH para que pueda conectarme inmediatamente al sistema con un cliente SSH como PuTTY una vez finalizada la instalación:
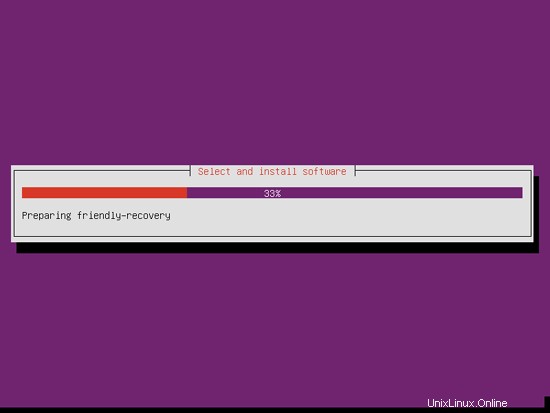
La instalación continúa:
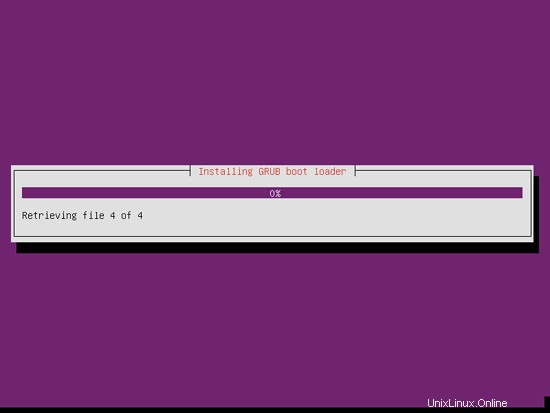
El cargador de arranque GRUB se instala:
Seleccione Sí cuando se le pregunte ¿Instalar el cargador de arranque GRUB en el registro de arranque maestro?:

La instalación del sistema base ya ha finalizado. Retire el CD de instalación de la unidad de CD y presione Continuar para reiniciar el sistema:

Al siguiente paso...
4 Obtener privilegios de root
Después del reinicio, puede iniciar sesión con su nombre de usuario creado previamente (por ejemplo, administrador). Debido a que debemos ejecutar todos los pasos de este tutorial con privilegios de root, podemos anteponer todos los comandos en este tutorial con la cadena sudo, o convertirnos en root ahora mismo escribiendo
sudo su
(También puede habilitar el inicio de sesión raíz ejecutando
sudo passwd root
y dando a root una contraseña. Luego puede iniciar sesión directamente como root, pero los desarrolladores y la comunidad de Ubuntu lo desaprueban por varias razones. Consulte http://ubuntuforums.org/showthread.php?t=765414.)
5 Instalar el servidor SSH (opcional)
Si no instaló el servidor OpenSSH durante la instalación del sistema, puede hacerlo ahora:
apt-get install ssh openssh-server
A partir de ahora, puede usar un cliente SSH como PuTTY y conectarse desde su estación de trabajo a su servidor Ubuntu 12.10 y seguir los pasos restantes de este tutorial.
6 Instalar vim-nox (Opcional)
Usaré vi como mi editor de texto en este tutorial. El programa vi predeterminado tiene un comportamiento extraño en Ubuntu y Debian; para arreglar esto, instalamos vim-nox:
apt-get install vim-nox
(No tienes que hacer esto si usas un editor de texto diferente como joe o nano).
7 Configurar la red
Debido a que el instalador de Ubuntu ha configurado nuestro sistema para obtener su configuración de red a través de DHCP, debemos cambiar eso ahora porque un servidor debe tener una dirección IP estática. Edite /etc/network/interfaces y ajústelo a sus necesidades (en este ejemplo de configuración usaré la dirección IP 192.168.0.100 y los servidores DNS 8.8.8.8 y 8.8.4.4:a partir de Ubuntu 12.04, ya no puede editar /etc/resolv.conf directamente, pero debe especificar sus servidores de nombres en la configuración de su red; consulte
man resolvconf
para más detalles):
vi /etc/network/interfaces
# This file describes the network interfaces available on your system
# and how to activate them. For more information, see interfaces(5).

# The loopback network interface
auto lo
iface lo inet loopback

# The primary network interface
auto eth0
iface eth0 inet static
        address 192.168.0.100
        netmask 255.255.255.0
        network 192.168.0.0
        broadcast 192.168.0.255
        gateway 192.168.0.1
dns-nameservers 8.8.8.8 8.8.4.4 |
127.0.0.1 localhost.localdomain localhost 192.168.0.100 server1.example.com server1 # The following lines are desirable for IPv6 capable hosts ::1 ip6-localhost ip6-loopback fe00::0 ip6-localnet ff00::0 ip6-mcastprefix ff02::1 ip6-allnodes ff02::2 ip6-allrouters |
[...] net.ipv6.bindv6only = 1 |
# # deb cdrom:[Ubuntu-Server 12.10 _Quantal Quetzal_ - Release amd64 (20121017.2)]/ quantal main restricted #deb cdrom:[Ubuntu-Server 12.10 _Quantal Quetzal_ - Release amd64 (20121017.2)]/ quantal main restricted # See http://help.ubuntu.com/community/UpgradeNotes for how to upgrade to # newer versions of the distribution. deb http://de.archive.ubuntu.com/ubuntu/ quantal main restricted deb-src http://de.archive.ubuntu.com/ubuntu/ quantal main restricted ## Major bug fix updates produced after the final release of the ## distribution. deb http://de.archive.ubuntu.com/ubuntu/ quantal-updates main restricted deb-src http://de.archive.ubuntu.com/ubuntu/ quantal-updates main restricted ## N.B. software from this repository is ENTIRELY UNSUPPORTED by the Ubuntu ## team. Also, please note that software in universe WILL NOT receive any ## review or updates from the Ubuntu security team. deb http://de.archive.ubuntu.com/ubuntu/ quantal universe deb-src http://de.archive.ubuntu.com/ubuntu/ quantal universe deb http://de.archive.ubuntu.com/ubuntu/ quantal-updates universe deb-src http://de.archive.ubuntu.com/ubuntu/ quantal-updates universe ## N.B. software from this repository is ENTIRELY UNSUPPORTED by the Ubuntu ## team, and may not be under a free licence. Please satisfy yourself as to ## your rights to use the software. Also, please note that software in ## multiverse WILL NOT receive any review or updates from the Ubuntu ## security team. deb http://de.archive.ubuntu.com/ubuntu/ quantal multiverse deb-src http://de.archive.ubuntu.com/ubuntu/ quantal multiverse deb http://de.archive.ubuntu.com/ubuntu/ quantal-updates multiverse deb-src http://de.archive.ubuntu.com/ubuntu/ quantal-updates multiverse ## N.B. software from this repository may not have been tested as ## extensively as that contained in the main release, although it includes ## newer versions of some applications which may provide useful features. ## Also, please note that software in backports WILL NOT receive any review ## or updates from the Ubuntu security team. deb http://de.archive.ubuntu.com/ubuntu/ quantal-backports main restricted universe multiverse deb-src http://de.archive.ubuntu.com/ubuntu/ quantal-backports main restricted universe multiverse deb http://security.ubuntu.com/ubuntu quantal-security main restricted deb-src http://security.ubuntu.com/ubuntu quantal-security main restricted deb http://security.ubuntu.com/ubuntu quantal-security universe deb-src http://security.ubuntu.com/ubuntu quantal-security universe deb http://security.ubuntu.com/ubuntu quantal-security multiverse deb-src http://security.ubuntu.com/ubuntu quantal-security multiverse ## Uncomment the following two lines to add software from Canonical's ## 'partner' repository. ## This software is not part of Ubuntu, but is offered by Canonical and the ## respective vendors as a service to Ubuntu users. # deb http://archive.canonical.com/ubuntu quantal partner # deb-src http://archive.canonical.com/ubuntu quantal partner ## Uncomment the following two lines to add software from Ubuntu's ## 'extras' repository. ## This software is not part of Ubuntu, but is offered by third-party ## developers who want to ship their latest software. # deb http://extras.ubuntu.com/ubuntu quantal main # deb-src http://extras.ubuntu.com/ubuntu quantal main |
[...] submission inet n - - - - smtpd -o syslog_name=postfix/submission -o smtpd_tls_security_level=encrypt -o smtpd_sasl_auth_enable=yes -o smtpd_client_restrictions=permit_sasl_authenticated,reject # -o milter_macro_daemon_name=ORIGINATING smtps inet n - - - - smtpd -o syslog_name=postfix/smtps -o smtpd_tls_wrappermode=yes -o smtpd_sasl_auth_enable=yes -o smtpd_client_restrictions=permit_sasl_authenticated,reject # -o milter_macro_daemon_name=ORIGINATING [...] |
[...] # Instead of skip-networking the default is now to listen only on # localhost which is more compatible and is not less secure. #bind-address = 127.0.0.1 [...] |
[...] pid = run/php-fpm.pid [...] user = www-data group = www-data [...] listen = 127.0.0.1:8999 [...] include=/opt/php-5.3.18/etc/pool.d/*.conf |
#! /bin/sh

### BEGIN INIT INFO
# Provides:          php-5.3.18-fpm
# Required-Start:    $all
# Required-Stop:     $all
# Default-Start:     2 3 4 5
# Default-Stop:      0 1 6
# Short-Description: starts php-5.3.18-fpm
# Description:       starts the PHP FastCGI Process Manager daemon
### END INIT INFO

php_fpm_BIN=/opt/php-5.3.18/sbin/php-fpm
php_fpm_CONF=/opt/php-5.3.18/etc/php-fpm.conf
php_fpm_PID=/opt/php-5.3.18/var/run/php-fpm.pid

php_opts="--fpm-config $php_fpm_CONF"


wait_for_pid () {
        try=0
        while test $try -lt 35 ; do
                case "$1" in
                        'created')
                        if [ -f "$2" ] ; then
                                try=''
                                break
                        fi
                        ;;

                        'removed')
                        if [ ! -f "$2" ] ; then
                                try=''
                                break
                        fi
                        ;;
                esac

                echo -n .
                try=`expr $try + 1`
                sleep 1

        done
}
case "$1" in
        start)
                echo -n "Starting php-fpm "

                $php_fpm_BIN $php_opts

                if [ "$?" != 0 ] ; then
                        echo " failed"
                        exit 1
                fi

                wait_for_pid created $php_fpm_PID

                if [ -n "$try" ] ; then
                        echo " failed"
                        exit 1
                else
                        echo " done"
                fi
        ;;

        stop)
                echo -n "Gracefully shutting down php-fpm "

                if [ ! -r $php_fpm_PID ] ; then
                        echo "warning, no pid file found - php-fpm is not running ?"
                        exit 1
                fi

                kill -QUIT `cat $php_fpm_PID`

                wait_for_pid removed $php_fpm_PID

                if [ -n "$try" ] ; then
                        echo " failed. Use force-exit"
                        exit 1
                else
                        echo " done"
                       echo " done"
                fi
        ;;

        force-quit)
                echo -n "Terminating php-fpm "

                if [ ! -r $php_fpm_PID ] ; then
                        echo "warning, no pid file found - php-fpm is not running ?"
                        exit 1
                fi

                kill -TERM `cat $php_fpm_PID`

                wait_for_pid removed $php_fpm_PID

                if [ -n "$try" ] ; then
                        echo " failed"
                        exit 1
                else
                        echo " done"
                fi
        ;;

        restart)
                $0 stop
                $0 start
        ;;

        reload)

                echo -n "Reload service php-fpm "

                if [ ! -r $php_fpm_PID ] ; then
                        echo "warning, no pid file found - php-fpm is not running ?"
                        exit 1
                fi

                kill -USR2 `cat $php_fpm_PID`

                echo " done"
        ;;

        *)
                echo "Usage: $0 {start|stop|force-quit|restart|reload}"
                exit 1
        ;;

esac |

        location /phpmyadmin {
               root /usr/share/;
               index index.php index.html index.htm;
               location ~ ^/phpmyadmin/(.+\.php)$ {
                       try_files $uri =404;
                       root /usr/share/;
                       fastcgi_pass unix:/var/run/php5-fpm.sock;
                       fastcgi_index index.php;
                       fastcgi_param SCRIPT_FILENAME $request_filename;
                       include /etc/nginx/fastcgi_params;
                       fastcgi_param PATH_INFO $fastcgi_script_name;
                       fastcgi_buffer_size 128k;
                       fastcgi_buffers 256 4k;
                       fastcgi_busy_buffers_size 256k;
                       fastcgi_temp_file_write_size 256k;
                       fastcgi_intercept_errors on;
               }
               location ~* ^/phpmyadmin/(.+\.(jpg|jpeg|gif|css|png|js|ico|html|xml|txt))$ {
                       root /usr/share/;
               }
        }
        location /phpMyAdmin {
               rewrite ^/* /phpmyadmin last;
} |
        location /phpmyadmin {
               root /usr/share/;
               index index.php index.html index.htm;
               location ~ ^/phpmyadmin/(.+\.php)$ {
                       try_files $uri =404;
                       root /usr/share/;
                       fastcgi_pass unix:/var/run/php5-fpm.sock;
                       fastcgi_param HTTPS on; # <-- add this line
                       fastcgi_index index.php;
                       fastcgi_param SCRIPT_FILENAME $request_filename;
                       include /etc/nginx/fastcgi_params;
                       fastcgi_param PATH_INFO $fastcgi_script_name;
                       fastcgi_buffer_size 128k;
                       fastcgi_buffers 256 4k;
                       fastcgi_busy_buffers_size 256k;
                       fastcgi_temp_file_write_size 256k;
                       fastcgi_intercept_errors on;
               }
               location ~* ^/phpmyadmin/(.+\.(jpg|jpeg|gif|css|png|js|ico|html|xml|txt))$ {
                       root /usr/share/;
               }
        }
        location /phpMyAdmin {
               rewrite ^/* /phpmyadmin last;
} |
[...]
http {
[...]
        ## Detect when HTTPS is used
        map $scheme $fastcgi_https {
          default off;
          https on;

        }
[...]
}
[...] |
        location /phpmyadmin {
               root /usr/share/;
               index index.php index.html index.htm;
               location ~ ^/phpmyadmin/(.+\.php)$ {
                       try_files $uri =404;
                       root /usr/share/;
                       fastcgi_pass unix:/var/run/php5-fpm.sock;
                       fastcgi_param HTTPS $fastcgi_https; # <-- add this line
                       fastcgi_index index.php;
                       fastcgi_param SCRIPT_FILENAME $request_filename;
                       include /etc/nginx/fastcgi_params;
                       fastcgi_param PATH_INFO $fastcgi_script_name;
                       fastcgi_buffer_size 128k;
                       fastcgi_buffers 256 4k;
                       fastcgi_busy_buffers_size 256k;
                       fastcgi_temp_file_write_size 256k;
                       fastcgi_intercept_errors on;
               }
               location ~* ^/phpmyadmin/(.+\.(jpg|jpeg|gif|css|png|js|ico|html|xml|txt))$ {
                       root /usr/share/;
               }
        }
        location /phpMyAdmin {
               rewrite ^/* /phpmyadmin last;
} |
[...] ## mailman mailing list mailman: "|/var/lib/mailman/mail/mailman post mailman" mailman-admin: "|/var/lib/mailman/mail/mailman admin mailman" mailman-bounces: "|/var/lib/mailman/mail/mailman bounces mailman" mailman-confirm: "|/var/lib/mailman/mail/mailman confirm mailman" mailman-join: "|/var/lib/mailman/mail/mailman join mailman" mailman-leave: "|/var/lib/mailman/mail/mailman leave mailman" mailman-owner: "|/var/lib/mailman/mail/mailman owner mailman" mailman-request: "|/var/lib/mailman/mail/mailman request mailman" mailman-subscribe: "|/var/lib/mailman/mail/mailman subscribe mailman" mailman-unsubscribe: "|/var/lib/mailman/mail/mailman unsubscribe mailman" |
        location /cgi-bin/mailman {
               root /usr/lib/;
               fastcgi_split_path_info (^/cgi-bin/mailman/[^/]*)(.*)$;
               include /etc/nginx/fastcgi_params;
               fastcgi_param SCRIPT_FILENAME $document_root$fastcgi_script_name;
               fastcgi_param PATH_INFO $fastcgi_path_info;
               fastcgi_param PATH_TRANSLATED $document_root$fastcgi_path_info;
               fastcgi_intercept_errors on;
               fastcgi_pass unix:/var/run/fcgiwrap.socket;
        }

        location /images/mailman {
               alias /usr/share/images/mailman;
        }

        location /pipermail {
               alias /var/lib/mailman/archives/public;
               autoindex on;
} |
[...] STANDALONE_OR_INETD=standalone [...] VIRTUALCHROOT=true [...] |
# /etc/fstab: static file system information. # # Use 'blkid' to print the universally unique identifier for a # device; this may be used with UUID= as a more robust way to name devices # that works even if disks are added and removed. See fstab(5). # # <file system> <mount point> <type> <options> <dump> <pass> proc /proc proc nodev,noexec,nosuid 0 0 /dev/mapper/server1-root / ext4 errors=remount-ro,usrjquota=quota.user,grpjquota=quota.group,jqfmt=vfsv0 0 1 # /boot was on /dev/sda1 during installation UUID=4b58d345-1c55-4ac5-940e-7245938656a6 /boot ext2 defaults 0 2 /dev/mapper/server1-swap_1 none swap sw 0 0 /dev/fd0 /media/floppy0 auto rw,user,noauto,exec,utf8 0 0 |
#MAILTO=root #*/10 * * * * www-data [ -x /usr/share/awstats/tools/update.sh ] && /usr/share/awstats/tools/update.sh # Generate static reports: #10 03 * * * www-data [ -x /usr/share/awstats/tools/buildstatic.sh ] && /usr/share/awstats/tools/buildstatic.sh |
[pureftpd] enabled = true port = ftp filter = pureftpd logpath = /var/log/syslog maxretry = 3 [dovecot-pop3imap] enabled = true filter = dovecot-pop3imap action = iptables-multiport[name=dovecot-pop3imap, port="pop3,pop3s,imap,imaps", protocol=tcp] logpath = /var/log/mail.log maxretry = 5 |
[Definition] failregex = .*pure-ftpd: \(.*@<HOST>\) \[WARNING\] Authentication failed for user.* ignoreregex = |
[Definition] failregex = (?: pop3-login|imap-login): .*(?:Authentication failure|Aborted login \(auth failed|Aborted login \(tried to use disabled|Disconnected \(auth failed|Aborted login \(\d+ authentication attempts).*rip=(?P<host>\S*),.* ignoreregex = |
        location /squirrelmail {
               root /usr/share/;
               index index.php index.html index.htm;
               location ~ ^/squirrelmail/(.+\.php)$ {
                       try_files $uri =404;
                       root /usr/share/;
                       fastcgi_pass unix:/var/run/php5-fpm.sock;
                       fastcgi_index index.php;
                       fastcgi_param SCRIPT_FILENAME $request_filename;
                       include /etc/nginx/fastcgi_params;
                       fastcgi_param PATH_INFO $fastcgi_script_name;
                       fastcgi_buffer_size 128k;
                       fastcgi_buffers 256 4k;
                       fastcgi_busy_buffers_size 256k;
                       fastcgi_temp_file_write_size 256k;
                       fastcgi_intercept_errors on;
               }
               location ~* ^/squirrelmail/(.+\.(jpg|jpeg|gif|css|png|js|ico|html|xml|txt))$ {
                       root /usr/share/;
               }
        }
        location /webmail {
               rewrite ^/* /squirrelmail last;
} |
        location /squirrelmail {
               root /usr/share/;
               index index.php index.html index.htm;
               location ~ ^/squirrelmail/(.+\.php)$ {
                       try_files $uri =404;
                       root /usr/share/;
                       fastcgi_pass unix:/var/run/php5-fpm.sock;
                       fastcgi_param HTTPS on; # <-- add this line
                       fastcgi_index index.php;
                       fastcgi_param SCRIPT_FILENAME $request_filename;
                       include /etc/nginx/fastcgi_params;
                       fastcgi_param PATH_INFO $fastcgi_script_name;
                       fastcgi_buffer_size 128k;
                       fastcgi_buffers 256 4k;
                       fastcgi_busy_buffers_size 256k;
                       fastcgi_temp_file_write_size 256k;
                       fastcgi_intercept_errors on;
               }
               location ~* ^/squirrelmail/(.+\.(jpg|jpeg|gif|css|png|js|ico|html|xml|txt))$ {
                       root /usr/share/;
               }
        }
        location /webmail {
               rewrite ^/* /squirrelmail last;
} |
[...]
http {
[...]
        ## Detect when HTTPS is used
        map $scheme $fastcgi_https {
          default off;
          https on;

        }
[...]
}
[...] |
        location /squirrelmail {
               root /usr/share/;
               index index.php index.html index.htm;
               location ~ ^/squirrelmail/(.+\.php)$ {
                       try_files $uri =404;
                       root /usr/share/;
                       fastcgi_pass unix:/var/run/php5-fpm.sock;
                       fastcgi_param HTTPS $fastcgi_https; # <-- add this line
                       fastcgi_index index.php;
                       fastcgi_param SCRIPT_FILENAME $request_filename;
                       include /etc/nginx/fastcgi_params;
                       fastcgi_param PATH_INFO $fastcgi_script_name;
                       fastcgi_buffer_size 128k;
                       fastcgi_buffers 256 4k;
                       fastcgi_busy_buffers_size 256k;
                       fastcgi_temp_file_write_size 256k;
                       fastcgi_intercept_errors on;
               }
               location ~* ^/squirrelmail/(.+\.(jpg|jpeg|gif|css|png|js|ico|html|xml|txt))$ {
                       root /usr/share/;
               }
        }
        location /webmail {
               rewrite ^/* /squirrelmail last;
} |

 Timme Hosting (ultra-fast nginx web hosting). Es el mantenedor principal de HowtoForge (desde 2005) y uno de los principales desarrolladores de ISPConfig (desde 2000). También ha contribuido al libro de O'Reilly "Administración del sistema Linux".