Una combinación de Linux, Nginx, MySQL y PHP que se conoce como pila LEMP es el entorno de alojamiento web popular para la aplicación basada en PHP. Aquí Linux es un sistema operativo, Nginx es el popular servidor web, MySQL es un sistema de gestión de base de datos relacional que se utiliza para almacenar datos y PHP es el lenguaje de programación más utilizado.
Este artículo lo ayudará a instalar Nginx, MySQL 8.0 y PHP 7.4 en el sistema Ubuntu Linux. Comencemos con la instalación de la pila LEMP en su máquina Ubuntu.
Requisitos
Antes de comenzar la instalación de LEMP en Ubuntu:
- Un sistema Ubuntu 20.04 en ejecución
- Inicie sesión como cuenta provista por sudo en su sistema. Para crearlo, siga el tutorial de configuración inicial del servidor.
- Un nombre de dominio/subdominio dirigido a su servidor
Instalación del servidor web Nginx
A continuación, debe instalar el servidor web Nginx en su sistema. Los paquetes de Nginx están disponibles en los repositorios apt predeterminados.
Ejecute los siguientes comandos para instalarlo:
sudo apt update
sudo apt install nginx
Instalación de PHP con PHP-FPM
Los paquetes de PHP 7.4 están disponibles en los repositorios predeterminados en Ubuntu 20.04 LTS. Use el siguiente comando para actualizar apt cache e instalar PHP en su sistema.
sudo apt update
sudo apt install -y php7.4 php7.4-fpm
Instale también los módulos PHP adicionales necesarios para su aplicación.
sudo apt install php7.4-curl php7.4-gd php7.4-json php7.4-mbstring php7.4-xml
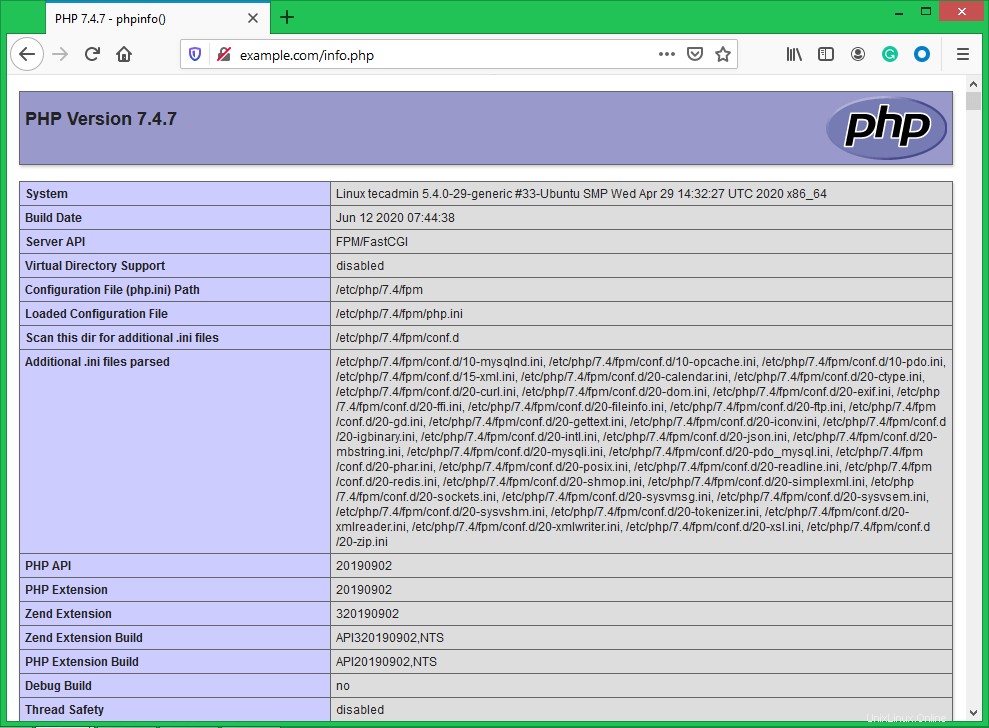
Ha instalado PHP 7.4 con el paquete PHP FPM en su sistema. Verifiquemos el estado del servicio PHP FPM ejecutando el siguiente comando:
sudo systemctl status php7.4-fpm

● php7.4-fpm.service - The PHP 7.4 FastCGI Process Manager
     Loaded: loaded (/lib/systemd/system/php7.4-fpm.service; enabled; vendor preset: enabled)
     Active: active (running) since Tue 2020-06-16 05:15:57 UTC; 34s ago
       Docs: man:php-fpm7.4(8)
    Process: 882716 ExecStartPost=/usr/lib/php/php-fpm-socket-helper install /run/php/php-fpm.sock /etc/php/7.4/fpm/pool.d/www.conf 74>
   Main PID: 882699 (php-fpm7.4)
     Status: "Processes active: 0, idle: 2, Requests: 0, slow: 0, Traffic: 0req/sec"
      Tasks: 3 (limit: 2283)
     Memory: 10.3M
     CGroup: /system.slice/php7.4-fpm.service
             ├─882699 php-fpm: master process (/etc/php/7.4/fpm/php-fpm.conf)
             ├─882714 php-fpm: pool www
             └─882715 php-fpm: pool www

Jun 16 05:15:57 tecadmin systemd[1]: Starting The PHP 7.4 FastCGI Process Manager...
Jun 16 05:15:57 tecadmin systemd[1]: Started The PHP 7.4 FastCGI Process Manager.
Instalación de MySQL
Los repositorios apt predeterminados de Ubuntu 20.04 contienen el servidor MySQL 8.0. Finalmente, instale los paquetes mysql-server para la base de datos MySQL. Además, instale el paquete php-mysql para usar el soporte de MySQL usando PHP. Use el siguiente comando para instalarlo.
sudo apt install mysql-server php7.4-mysql
El instalador le pedirá la contraseña de root. Esta contraseña funcionará para su usuario root de MySQL. Después de instalar MySQL, ejecute el siguiente comando para la configuración inicial del servidor MySQL. Verá que la secuencia de comandos solicitará más configuraciones que las versiones anteriores de MySQL, como la política de validación de contraseña, etc.
sudo mysql_secure_installation
Securing the MySQL server deployment. Connecting to MySQL using a blank password. VALIDATE PASSWORD COMPONENT can be used to test passwords and improve security. It checks the strength of password and allows the users to set only those passwords which are secure enough. Would you like to setup VALIDATE PASSWORD component? Press y|Y for Yes, any other key for No: yThere are three levels of password validation policy: LOW Length >= 8 MEDIUM Length >= 8, numeric, mixed case, and special characters STRONG Length >= 8, numeric, mixed case, special characters and dictionary file Please enter 0 = LOW, 1 = MEDIUM and 2 = STRONG: 2Please set the password for root here. New password: Re-enter new password:Estimated strength of the password: 100 Do you wish to continue with the password provided?(Press y|Y for Yes, any other key for No) : y By default, a MySQL installation has an anonymous user, allowing anyone to log into MySQL without having to have a user account created for them. This is intended only for testing, and to make the installation go a bit smoother. You should remove them before moving into a production environment. Remove anonymous users? (Press y|Y for Yes, any other key for No) : ySuccess. Normally, root should only be allowed to connect from 'localhost'. This ensures that someone cannot guess at the root password from the network. Disallow root login remotely? (Press y|Y for Yes, any other key for No) : ySuccess. By default, MySQL comes with a database named 'test' that anyone can access. This is also intended only for testing, and should be removed before moving into a production environment. Remove test database and access to it? (Press y|Y for Yes, any other key for No) : y- Dropping test database... Success. - Removing privileges on test database... Success. Reloading the privilege tables will ensure that all changes made so far will take effect immediately. Reload privilege tables now? (Press y|Y for Yes, any other key for No) : ySuccess. All done!
Configurar Nginx con PHP-FPM
Creemos un host virtual Nginx para ejecutar con FPM/FastCGI. Para este tutorial, usamos VirtualHost predeterminado. Edite el archivo de configuración del host VirtualHost en el editor de texto. Puede crear un nuevo VirtualHost según sus requisitos, así que asegúrese de habilitar cualquier nuevo VirtualHost.
sudo vim /etc/nginx/sites-available/example.com
Utilice la siguiente configuración básica de host virtual de Nginx con la configuración de php fpm. Actualice la configuración de la siguiente manera.
Apache
| 123456789101112131415 | servidor { escucha 80; raíz /var/www/html; índice índice.php índice.html índice.htm; nombre_servidor ejemplo.com; ubicación / { try_files $uri $uri/ =404; } ubicación ~ \.php$ { include snippets/fastcgi-php.conf; fastcgi_pass unix:/var/run/php/php7.4-fpm.sock; }} |