oVirt es un software de virtualización gratuito y de código abierto que se utiliza en Linux como sistemas operativos como Fedora, CentOS y RHEL. En otras palabras, podemos decir que oVirt es la alternativa de VMware vSphere en linux La comunidad Ovirt está fundada y respaldada por Red Hat y se considera un proyecto ascendente para Red Hat Enterprise Virtualization (RHEV ).
oVirt consta de dos componentes principales:
- motor virtual
- Nodo oVirtud
Motor virtual es una interfaz gráfica de usuario o podemos decir que es un portal de administración web desde donde podemos administrar máquinas virtuales, recursos informáticos, de red y de almacenamiento.
Nodo oVirt es un servidor RHEL/CentOS o Fedora en el que el servicio vdsm está activo y en ejecución. El nodo Ovirt actuará como hipervisor (KVM) en el que se crearán todas las máquinas virtuales.
En este artículo instalaremos la última versión oVirt 4.0.3 en CentOS 7 / RHEL 7 . Usaremos dos servidores, uno actuará como motor ovirt y el otro actuará como nodo ovirt. A continuación se muestran los detalles:
oVirt Engine:ovirtengine.example.com (192.168.1.30)
Nodo oVirtud:ovirtnode.example.com (192.168.1.40)
Actualice las siguientes entradas en el archivo /etc/hosts en caso de que no tenga su servidor dns local.
192.168.1.30  ovirtengine.example.com
192.168.1.40  ovirtnode.example.com
Pasos de instalación de oVirt Engine en CentOS 7/RHEL 7
Los siguientes son requisitos mínimos para ovirt-engine:
- SO mínimo (CentOS 7.x/RHEL 7.x)
- Servidor de doble núcleo
- 4 GB de RAM
- 25 GB de espacio en disco
- Tarjeta LAN de 1 Gbps
Realice los siguientes pasos uno tras otro para instalar el motor ovirt.
Paso:1 Actualice el servidor usando el comando yum
Instale la última actualización en el servidor usando el comando debajo de yum.
[[email protected] ~]# yum update -y
Una vez instaladas las actualizaciones, reinicie el servidor.
Paso:2 Habilitar el repositorio de oVirt 4.0.3
Los paquetes del motor ovirt no están disponibles en los repositorios CentOS y RHEL yum. Ejecute el siguiente comando para configurar y habilitar el repertorio ovirt 4.0
[[email protected] ~]# yum install http://resources.ovirt.org/pub/yum-repo/ovirt-release40.rpm
Paso:3 Instale el paquete del motor oVirt usando el comando yum
Ejecute el siguiente comando yum para instalar el motor ovirt.
[[email protected] ~]# yum install ovirt-engine -y
Paso:4 Inicie el instalador del motor ovirt
Ejecute el comando 'engine-setu p’ desde la consola, iniciará el instalador del motor ovirt y hará una serie de preguntas de manera interactiva durante la instalación y guardará todas las respuestas en un archivo de respuestas. El archivo de respuesta se puede reutilizar para automatizar la instalación.
[[email protected] ~]# engine-setup --generate-answer=/root/answer.txt
[ INFO ] Stage: Initializing
[ INFO ] Stage: Environment setup
 Configuration files: ['/etc/ovirt-engine-setup.conf.d/10-packaging-jboss.conf', '/etc/ovirt-engine-setup.conf.d/10-packaging.conf']
 Log file: /var/log/ovirt-engine/setup/ovirt-engine-setup-20160918040600-2gbi6m.log
 Version: otopi-1.5.2 (otopi-1.5.2-1.el7.centos)
[ INFO ] Stage: Environment packages setup
[ INFO ] Yum Downloading: base/7/x86_64 (0%)
[ INFO ] Yum Downloading: updates/7/x86_64 (0%)
[ INFO ] Stage: Programs detection
[ INFO ] Stage: Environment setup
[ INFO ] Stage: Environment customization

 --== PRODUCT OPTIONS ==--

 Configure Engine on this host (Yes, No) [Yes]: Yes
 Configure Image I/O Proxy on this host? (Yes, No) [Yes]: Yes
 Configure WebSocket Proxy on this host (Yes, No) [Yes]: Yes
 Please note: Data Warehouse is required for the engine. If you choose to not configure it on this host, you have to configure it on a remote host, and then configure the engine on this host so that it can access the database of the remote Data Warehouse host.
 Configure Data Warehouse on this host (Yes, No) [Yes]: Yes
 Configure VM Console Proxy on this host (Yes, No) [Yes]: Yes

 --== PACKAGES ==--

[ INFO ] Checking for product updates...
[ INFO ] No product updates found

 --== NETWORK CONFIGURATION ==--

 Host fully qualified DNS name of this server [ovirtengine.example.com]: ovirtengine.example.com
[WARNING] Failed to resolve ovirtengine.example.com using DNS, it can be resolved only locally
 Setup can automatically configure the firewall on this system.
 Note: automatic configuration of the firewall may overwrite current settings.
 Do you want Setup to configure the firewall? (Yes, No) [Yes]: No

 --== DATABASE CONFIGURATION ==--

 Where is the DWH database located? (Local, Remote) [Local]: Local
 Setup can configure the local postgresql server automatically for the DWH to run. This may conflict with existing applications.
 Would you like Setup to automatically configure postgresql and create DWH database, or prefer to perform that manually? (Automatic, Manual) [Automatic]: Automatic
 Where is the Engine database located? (Local, Remote) [Local]: Local
 Setup can configure the local postgresql server automatically for the engine to run. This may conflict with existing applications.
 Would you like Setup to automatically configure postgresql and create Engine database, or prefer to perform that manually? (Automatic, Manual) [Automatic]: Automatic

 --== OVIRT ENGINE CONFIGURATION ==--

 Engine admin password:
 Confirm engine admin password:
[WARNING] Password is weak: it is too simplistic/systematic
 Use weak password? (Yes, No) [No]: Yes
 Application mode (Virt, Gluster, Both) [Both]: Both

 --== STORAGE CONFIGURATION ==--

 Default SAN wipe after delete (Yes, No) [No]: No

 --== PKI CONFIGURATION ==--

 Organization name for certificate [example.com]: example.com

 --== APACHE CONFIGURATION ==--

 Setup can configure the default page of the web server to present the application home page. This may conflict with existing applications.
 Do you wish to set the application as the default page of the web server? (Yes, No) [Yes]: Yes
 Setup can configure apache to use SSL using a certificate issued from the internal CA.
 Do you wish Setup to configure that, or prefer to perform that manually? (Automatic, Manual) [Automatic]: Automatic

 --== SYSTEM CONFIGURATION ==--

 Configure an NFS share on this server to be used as an ISO Domain? (Yes, No) [No]: No

 --== MISC CONFIGURATION ==--

 Please choose Data Warehouse sampling scale:
 (1) Basic
 (2) Full
 (1, 2)[1]: 1

 --== END OF CONFIGURATION ==--

[ INFO ] Stage: Setup validation
[WARNING] Warning: Not enough memory is available on the host. Minimum requirement is 4096MB, and 16384MB is recommended.
 Do you want Setup to continue, with amount of memory less than recommended? (Yes, No) [No]: Yes

 --== CONFIGURATION PREVIEW ==--

 Application mode : both
 Default SAN wipe after delete : False
 Update Firewall : False
 Host FQDN : ovirtengine.example.com
 Engine database secured connection : False
 Engine database host : localhost
 Engine database user name : engine
 Engine database name : engine
 Engine database port : 5432
 Engine database host name validation : False
 DWH database secured connection : False
 DWH database host : localhost
 DWH database user name : ovirt_engine_history
 DWH database name : ovirt_engine_history
 DWH database port : 5432
 DWH database host name validation : False
 Engine installation : True
 PKI organization : example.com
 Configure local Engine database : True
 Set application as default page : True
 Configure Apache SSL : True
 DWH installation : True
 Configure local DWH database : True
 Engine Host FQDN : ovirtengine.example.com
 Configure Image I/O Proxy : True
 Configure VMConsole Proxy : True
 Configure WebSocket Proxy : True

 Please confirm installation settings (OK, Cancel) [OK]: OK

[ INFO ] Stage: Transaction setup
[ INFO ] Stopping engine service
[ INFO ] Stopping ovirt-fence-kdump-listener service
[ INFO ] Stopping dwh service
[ INFO ] Stopping Image I/O Proxy service
[ INFO ] Stopping websocket-proxy service
[ INFO ] Stage: Misc configuration
[ INFO ] Stage: Package installation
[ INFO ] Stage: Misc configuration
[ INFO ] Upgrading CA
[ INFO ] Initializing PostgreSQL
[ INFO ] Creating PostgreSQL 'engine' database
[ INFO ] Configuring PostgreSQL
[ INFO ] Creating PostgreSQL 'ovirt_engine_history' database
[ INFO ] Configuring PostgreSQL
[ INFO ] Creating CA
[ INFO ] Creating/refreshing Engine database schema
[ INFO ] Creating/refreshing DWH database schema
[ INFO ] Configuring Image I/O Proxy
[ INFO ] Setting up ovirt-vmconsole proxy helper PKI artifacts
[ INFO ] Setting up ovirt-vmconsole SSH PKI artifacts
[ INFO ] Configuring WebSocket Proxy
[ INFO ] Creating/refreshing Engine 'internal' domain database schema
[ INFO ] Generating post install configuration file '/etc/ovirt-engine-setup.conf.d/20-setup-ovirt-post.conf'
[ INFO ] Stage: Transaction commit
[ INFO ] Stage: Closing up
[ INFO ] Starting engine service
[ INFO ] Starting dwh service
[ INFO ] Restarting ovirt-vmconsole proxy service

 --== SUMMARY ==--

[ INFO ] Restarting httpd
 In order to configure firewalld, copy the files from
 /etc/ovirt-engine/firewalld to /etc/firewalld/services
 and execute the following commands:
 firewall-cmd --permanent --add-service ovirt-postgres
 firewall-cmd --permanent --add-service ovirt-https
 firewall-cmd --permanent --add-service ovirt-fence-kdump-listener
 firewall-cmd --permanent --add-service ovirt-imageio-proxy
 firewall-cmd --permanent --add-service ovirt-websocket-proxy
 firewall-cmd --permanent --add-service ovirt-http
 firewall-cmd --permanent --add-service ovirt-vmconsole-proxy
 firewall-cmd --reload
 The following network ports should be opened:
 tcp:2222
 tcp:443
 tcp:5432
 tcp:54323
 tcp:6100
 tcp:80
 udp:7410
 An example of the required configuration for iptables can be found at:
 /etc/ovirt-engine/iptables.example
 Please use the user '[email protected]' and password specified in order to login
 Web access is enabled at:
 http://ovirtengine.example.com:80/ovirt-engine
 https://ovirtengine.example.com:443/ovirt-engine
 Internal CA E2:96:0B:A0:6C:1E:B5:0D:BB:7B:B5:29:4D:88:92:5A:DA:1E:95:BC
 SSH fingerprint: 1f:7b:59:12:01:8c:b5:d7:21:49:3b:e9:e4:d1:72:da
[WARNING] Warning: Not enough memory is available on the host. Minimum requirement is 4096MB, and 16384MB is recommended.

 --== END OF SUMMARY ==--

[ INFO ] Stage: Clean up
 Log file is located at /var/log/ovirt-engine/setup/ovirt-engine-setup-20160918040600-2gbi6m.log
[ INFO ] Generating answer file '/var/lib/ovirt-engine/setup/answers/20160918041930-setup.conf'
[ INFO ] Generating answer file '/root/answer.txt'
[ INFO ] Stage: Pre-termination
[ INFO ] Stage: Termination
[ INFO ] Execution of setup completed successfully
[[email protected] ~]#
En caso de que el firewall esté habilitado en su servidor, ejecute los pasos mencionados en el resultado anterior.
Paso:5 Acceda al portal de administrador web de oVirt Engine.
Abra el navegador web y escriba la URL:
https://ovirtengine.ejemplo.com
o
https://Dirección_IP
Reemplace el nombre de dominio o la dirección IP según su configuración.
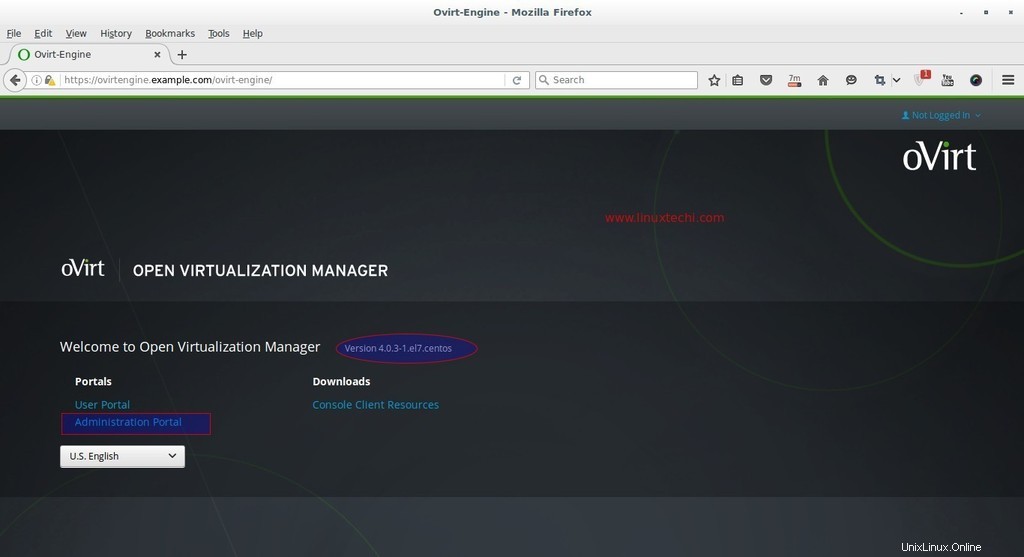
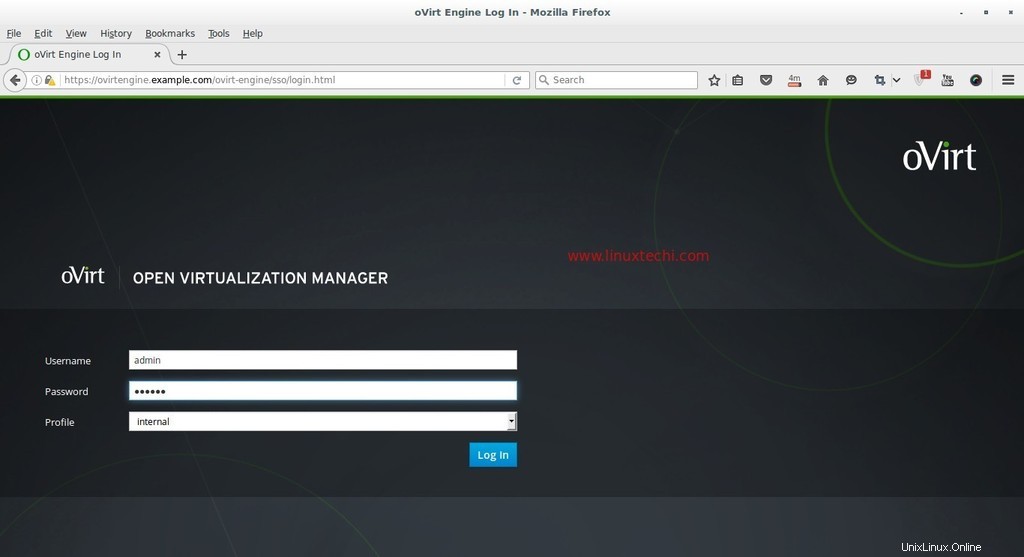
Haga clic en Portal del administrador.
Ingrese el nombre de usuario como 'admin ‘ y la contraseña que mencionamos durante la instalación y el perfil como interno.
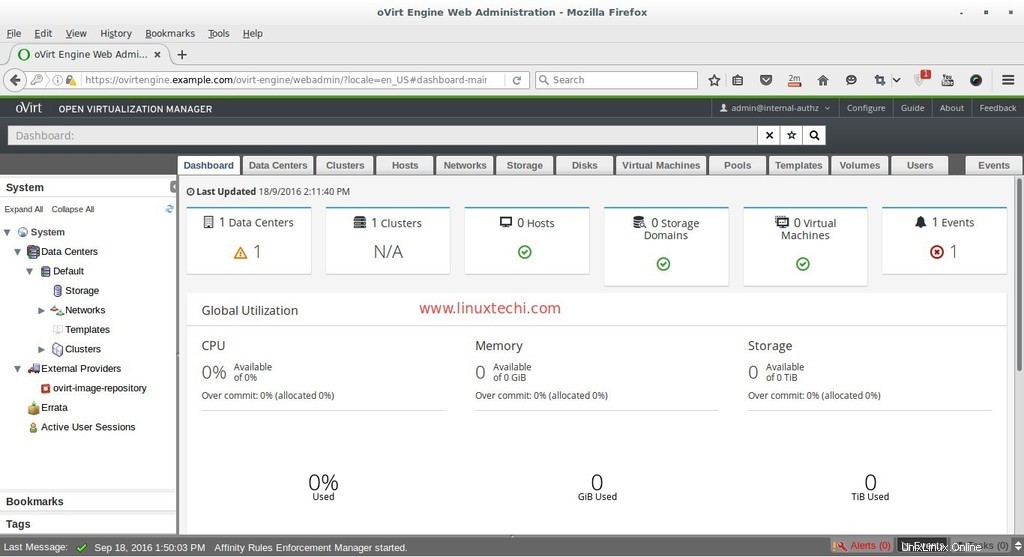
En este punto, la instalación del motor ovirt está completa, ahora instale el nodo ovirt.
Pasos de instalación de oVirt Node (hipervisor)
oVirt Node se puede configurar en dos métodos diferentes, el primer método es que podemos descargar el hipervisor o ovirt-node iso archivo desde su sitio web oficial e instale el servidor desde el archivo iso descargado.
El segundo método es que podemos hacer que los CentOS existentes , RHEL y Fedora servidor como nodo ovirt instalando el paquete vdsm en él y luego agregaremos ese host o servidor manualmente desde el portal del administrador del motor ovirt.
Los requisitos mínimos para oVirt Node son:
- Sistema de doble núcleo
- 10 GB de RAM física
- 10 GB de espacio en disco
- Tarjeta LAN de 1 Gbps
En este tutorial voy con el primer método, ya he descargado el oVirt 4.0 Node iso expediente. Grabe el archivo iso descargado en un DVD o en una unidad USB y arranque el servidor con DVD/USB y siga las instrucciones en pantalla.

Seleccione la primera opción 'Instalar oVirt Node 4.0.3 ‘
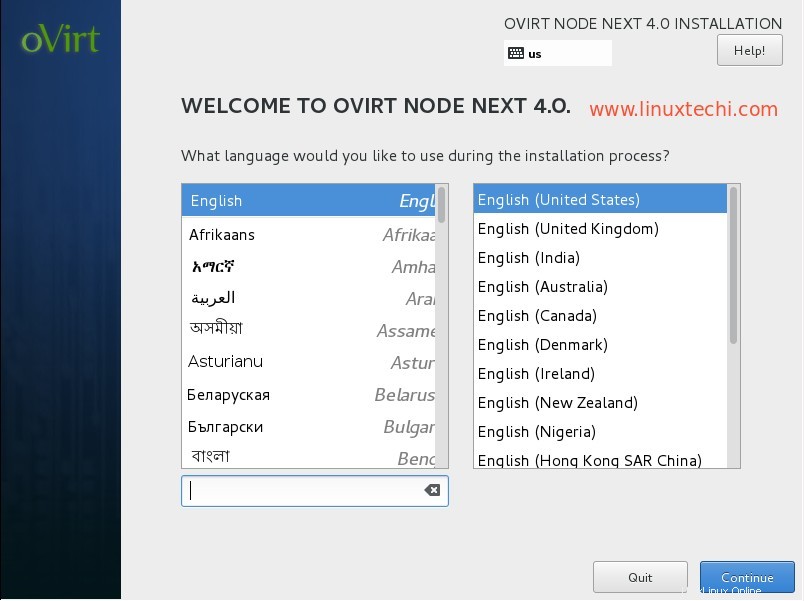
Seleccione el idioma y haga clic en Continuar…
En el Paso siguiente, realice los siguientes pasos:
- Configurar redes
- Establecer nombre de host
- Seleccione el disco para la instalación del sistema operativo
- Fecha y hora según configuración
- Diseño del teclado
En mi caso, el nombre de host es "ovirtnode.example.com ” y la dirección IP es 192.168.1.40
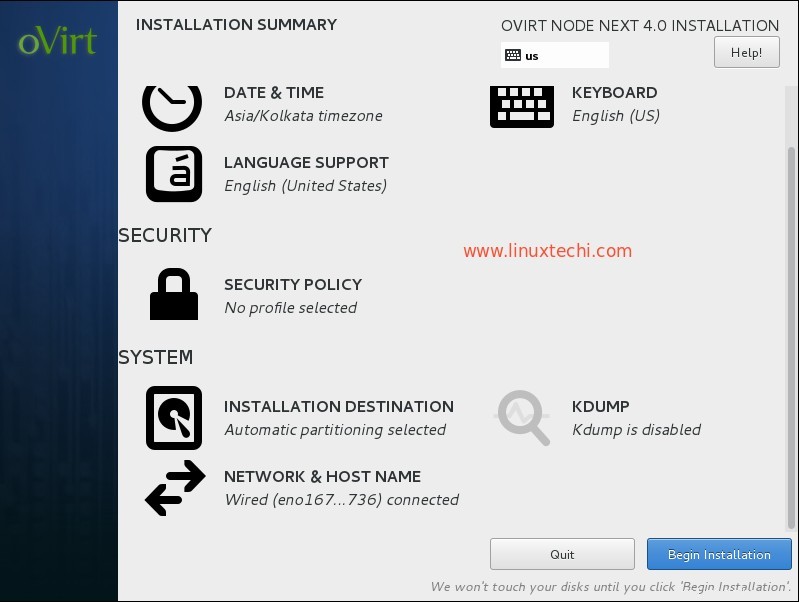
Haga clic en Comenzar instalación
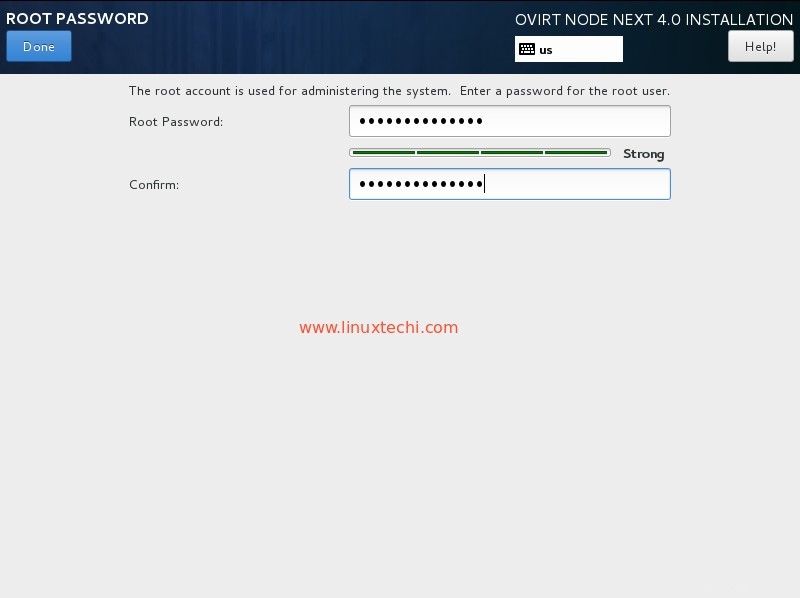
Establezca la contraseña de root y haga clic en Listo
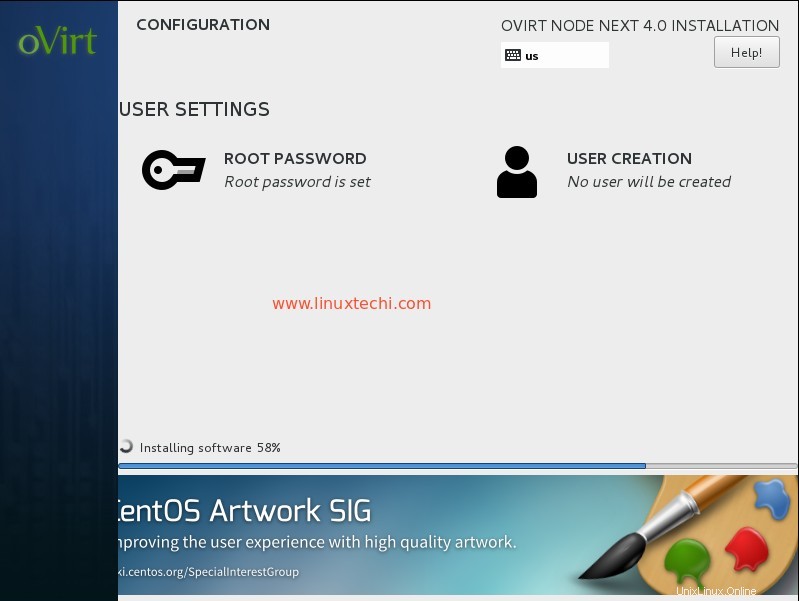
oVirt 4.0.3 La instalación del nodo está en curso.
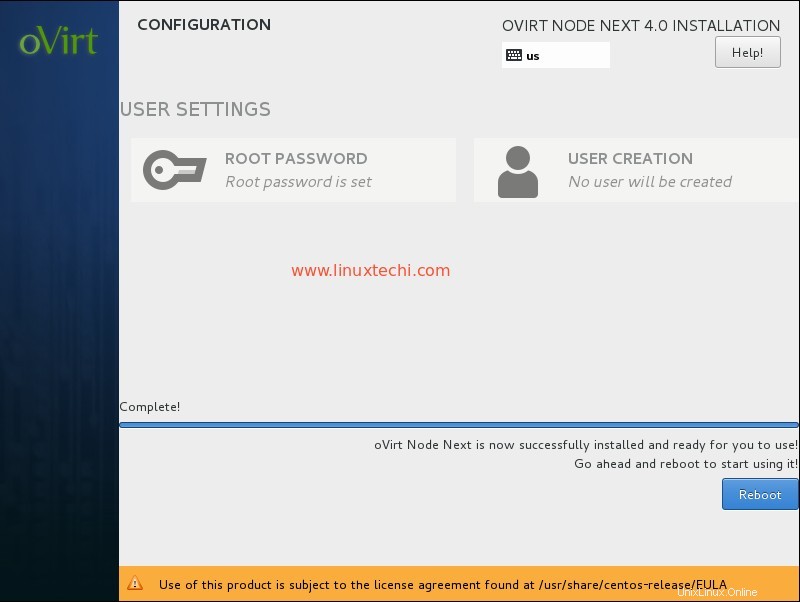
Una vez que se complete la instalación, reinicie su servidor.
Agregue el nodo oVirt (ovirtnode.example) en el motor ovirt desde el Portal del administrador web.
Inicie sesión en el Portal del administrador, vaya a la pestaña Hosts —> haga clic en Nuevo
Especifique los detalles del nodo ovirt.
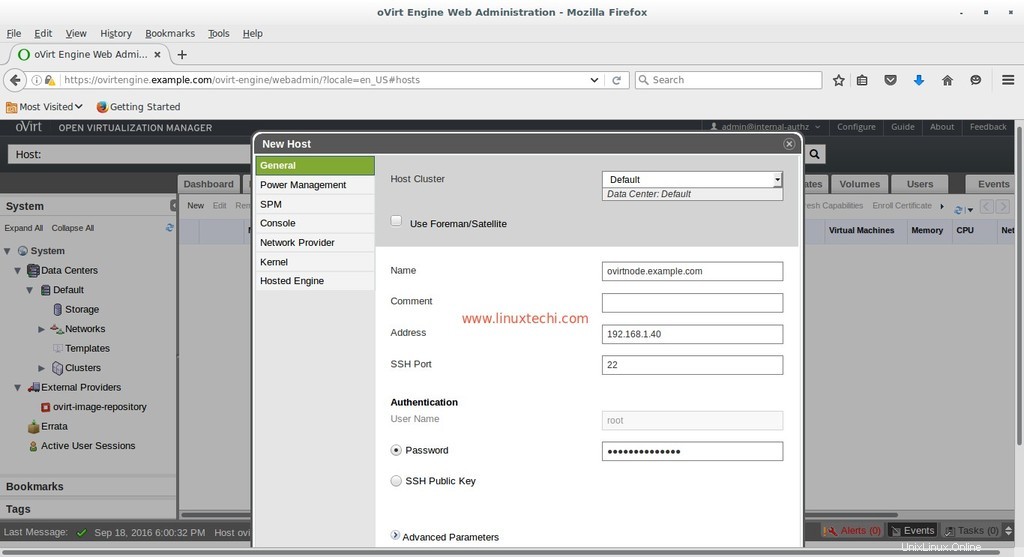
Una vez que haya terminado con las entradas, haga clic en Aceptar.

Como estoy haciendo esta configuración en mi laboratorio, no voy a "Configurar administración de energía “. Haga clic en Aceptar
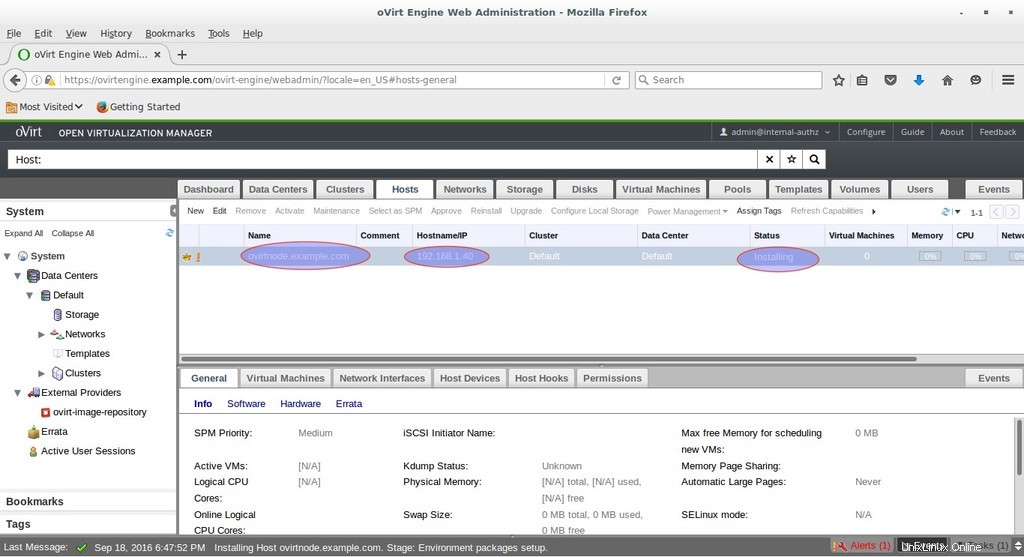
Como podemos ver a continuación, el motor ovirt está instalando el software en el nodo ovirt. En caso de que el host no se active después de instalar el software, seleccione Host y haga clic en Activar
Como podemos ver, Host está activado ahora.
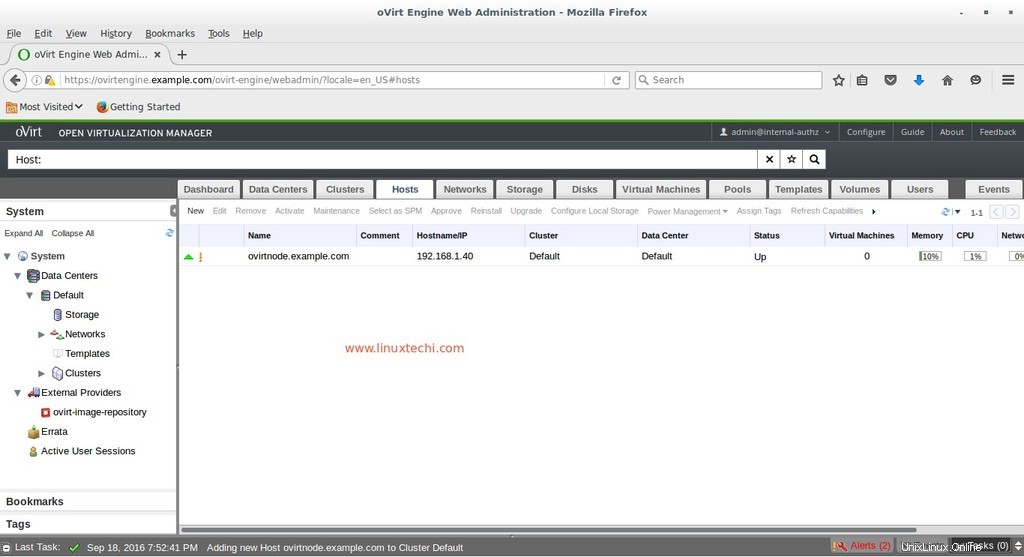
Eso es todo. Espero que le gusten los pasos de instalación y configuración de oVirt 4.0.3. En el próximo artículo, discutiremos cómo crear centros de datos, clústeres y máquinas virtuales.