Vtiger es un CRM de código abierto que incluye inventario, correo electrónico, gestión de proyectos y otras herramientas que proporcionan una suite completa de gestión empresarial. Con vTiger CRM, puede garantizar un soporte premium, gestión de ventas y que los equipos de marketing trabajen sin problemas para impulsar el crecimiento del negocio y mejorar la experiencia del cliente.
Algunas características principales de vTiger CRM incluyen, entre otras:
- Automatización de soporte mediante un portal de clientes y tickets de soporte.
- Tiene un control de acceso basado en roles.
- Proporciona gestión del ciclo de ventas de extremo a extremo desde campañas, clientes potenciales, potenciales, cotizaciones, facturas.
- Te ofrece complementos de Outlook, Thunderbird, Firefox y Gmail.
- Flujos de trabajo, tareas y gestión de proyectos.
- Admite la importación y exportación de datos a través de archivos CSV, formularios web para clientes potenciales, informes y paneles de usuario personalizables.
Se requiere el servidor web Apache, PHP y el servidor de base de datos MariaDB para la instalación de vTiger CRM y su correcto funcionamiento.
Instalar PHP:
Use los siguientes comandos para instalar PHP.
dnf -y install yum-utils
dnf -y install https://dl.fedoraproject.org/pub/epel/epel-release-latest-8.noarch.rpm
dnf -y install https://rpms.remirepo.net/enterprise/remi-release-8.rpm
dnf module reset php
dnf module -y install php:remi-7.4
dnf -y install vim php php-{pear,cli,cgi,common,curl,mbstring,gd,mysqlnd,gettext,bcmath,json,xml,fpm,intl,zip,imap,ldap,soap,xmlrpc}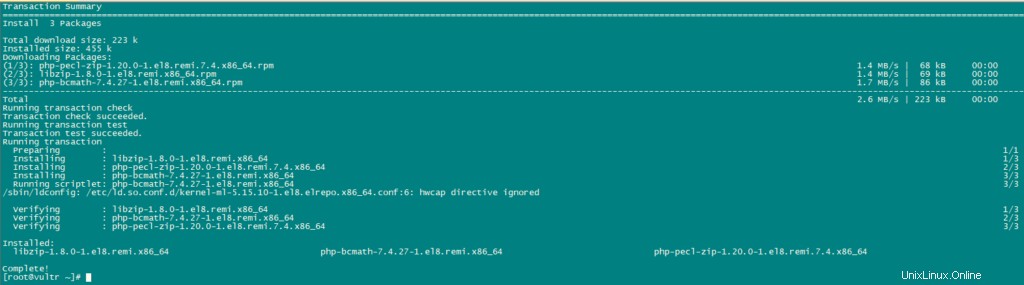
Ahora, configure PHP.
nano /etc/php.iniReemplace los valores actuales de la siguiente variable con los valores mencionados:
date.timezone = Africa/Nairobi
memory_limit = 256M
upload_max_filesize = 64M
display_errors = On
log_errors = Off
Instalar MariaDB y Crear Base de Datos:
vTiger CRM necesita un almacén de base de datos para sus datos. Usaremos mariaDB como su base de datos.
Instale mariaDB usando el siguiente comando:
dnf install mariadb-serverUse el siguiente comando para la configuración de MariaDB.
mysql_secure_installationestablezca las configuraciones de la siguiente manera:
NOTE: RUNNING ALL PARTS OF THIS SCRIPT IS RECOMMENDED FOR ALL MariaDB
      SERVERS IN PRODUCTION USE!  PLEASE READ EACH STEP CAREFULLY!

In order to log into MariaDB to secure it, we'll need the current
password for the root user.  If you've just installed MariaDB, and
you haven't set the root password yet, the password will be blank,
so you should just press enter here.

Enter current password for root (enter for none):
OK, successfully used password, moving on...

Setting the root password ensures that nobody can log into the MariaDB
root user without the proper authorisation.

Set root password? [Y/n] y
New password:
Re-enter new password:
Password updated successfully!
Reloading privilege tables..
 ... Success!


By default, a MariaDB installation has an anonymous user, allowing anyone
to log into MariaDB without having to have a user account created for
them.  This is intended only for testing, and to make the installation
go a bit smoother.  You should remove them before moving into a
production environment.

Remove anonymous users? [Y/n] y
 ... Success!

Normally, root should only be allowed to connect from 'localhost'.  This
ensures that someone cannot guess at the root password from the network.

Disallow root login remotely? [Y/n] y
 ... Success!

By default, MariaDB comes with a database named 'test' that anyone can
access.  This is also intended only for testing, and should be removed
before moving into a production environment.

Remove test database and access to it? [Y/n] y
 - Dropping test database...
 ... Success!
 - Removing privileges on test database...
 ... Success!

Reloading the privilege tables will ensure that all changes made so far
will take effect immediately.

Reload privilege tables now? [Y/n] y
 ... Success!

Cleaning up...

All done!  If you've completed all of the above steps, your MariaDB
installation should now be secure.

Thanks for using MariaDB!
Ahora establezca el modo SQL de la siguiente manera:
nano /etc/my.cnf.d/server.cnf

[mysqld]
sql_mode = ERROR_FOR_DIVISION_BY_ZERO,NO_AUTO_CREATE_USER,NO_ENGINE_SUBSTITUTION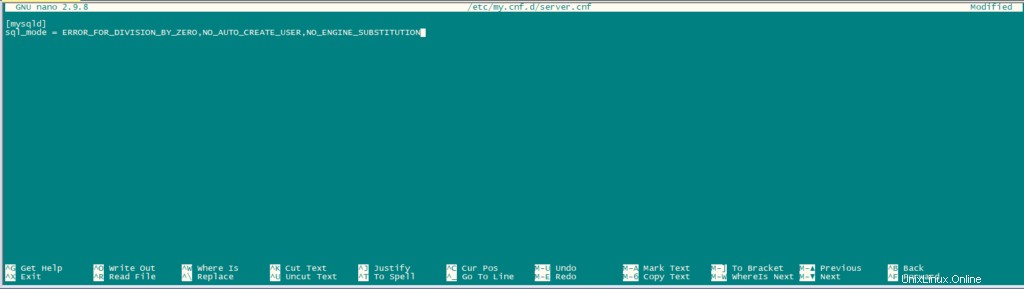
Reinicie MariaDB.
systemctl restart mariadb.serviceDespués de instalar el servidor de la base de datos, inicie sesión en MariaDB cli como usuario raíz y cree una base de datos para vTiger CRM.
mysql -u root -pCree una base de datos y un usuario de la siguiente manera:
CREATE USER 'vtiger'@'localhost' IDENTIFIED BY 'w';
CREATE DATABASE vtiger CHARACTER SET utf8 COLLATE utf8_general_ci;
GRANT ALL PRIVILEGES ON vtiger.* TO 'vtiger'@'localhost';
FLUSH PRIVILEGES;
QUIT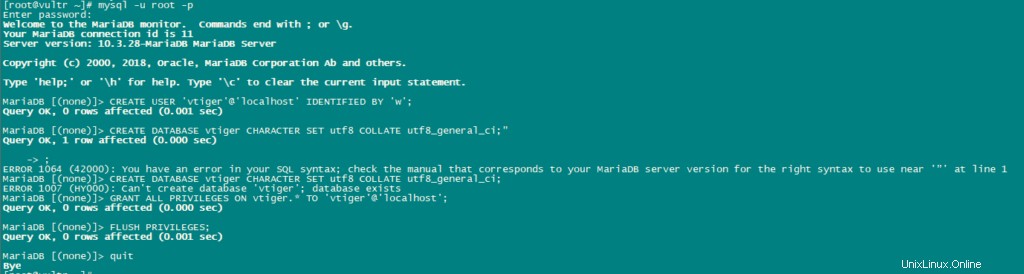
Descargar Vtiger:
Descargue la última versión de vTiger.
dnf -y install wget
wget https://sourceforge.net/projects/vtigercrm/files/vtiger%20CRM%207.2.0/Core%20Product/vtigercrm7.2.0.tar.g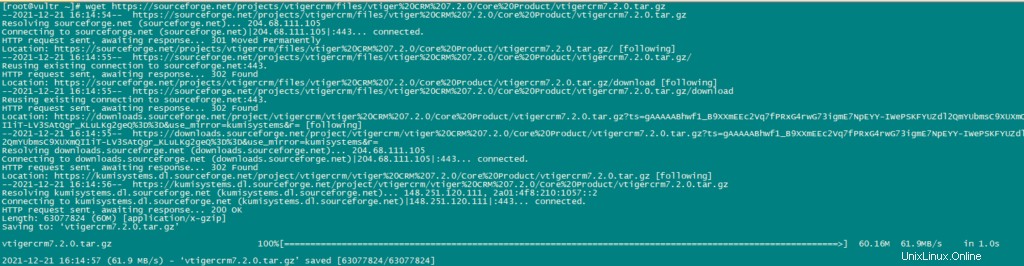
Extraiga el archivo tar.
tar xvf vtigercrm7.2.0.tar.gzInstale el servidor Apache httpd:
dnf -y install httpdMueva la carpeta vTiger con su contenido a /var/www/html.
mv vtigercrm /var/www/html/Configurar Apache:
establezca los permisos de directorio adecuados con el siguiente comando:
chown -R apache:apache /var/www/html/vtigercrmAhora cree un archivo de host virtual para vTiger:
nano /etc/httpd/conf.d/vtigercrm.confAgregue el siguiente contenido en el archivo.
<VirtualHost *:80>
     ServerAdmin lab1.unixcop.com
     ServerName lab1.unixcop.com
     ServerAlias lab1.unixcop.com
     DocumentRoot /var/www/html/vtigercrm/

     <Directory /var/www/html/vtigercrm/>
        Options +FollowSymlinks
        AllowOverride All
        Require all granted
     </Directory>

     ErrorLog /var/log/httpd/vtigercrm_error.log
     CustomLog /var/log/httpd/vtigercrm_access.log combined
</VirtualHost>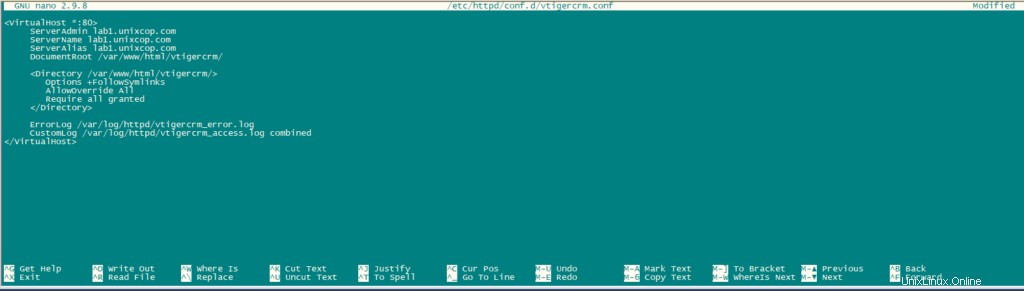
Verifique la sintaxis del archivo anterior usando los siguientes comandos:
apachectl -tReinicie el servicio httpd.
systemctl restart httpdAbra el puerto http en el firewall usando el siguiente comando:
firewall-cmd --add-service=http --permanent
firewall-cmd --reload
Deshabilite SELinux si no está deshabilitado.
sudo setenforce 0
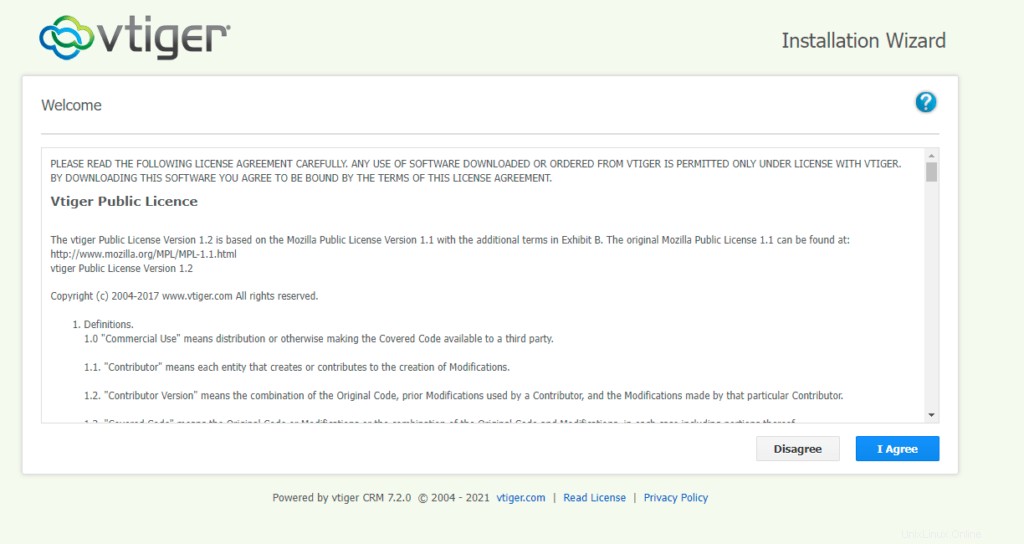
sudo sed -i 's/^SELINUX=.*/SELINUX=disabled/g' /etc/selinux/configFinalice la instalación abriendo http://Your_IPAddress en su navegador. La primera página que aparecerá será Asistente de instalación.
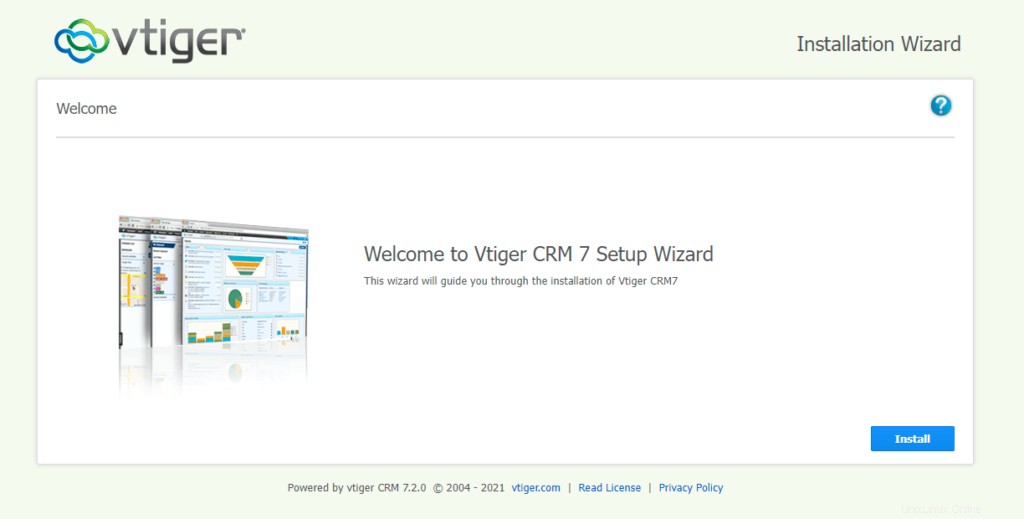
Haga clic en Instalar y luego haga clic en "Acepto"
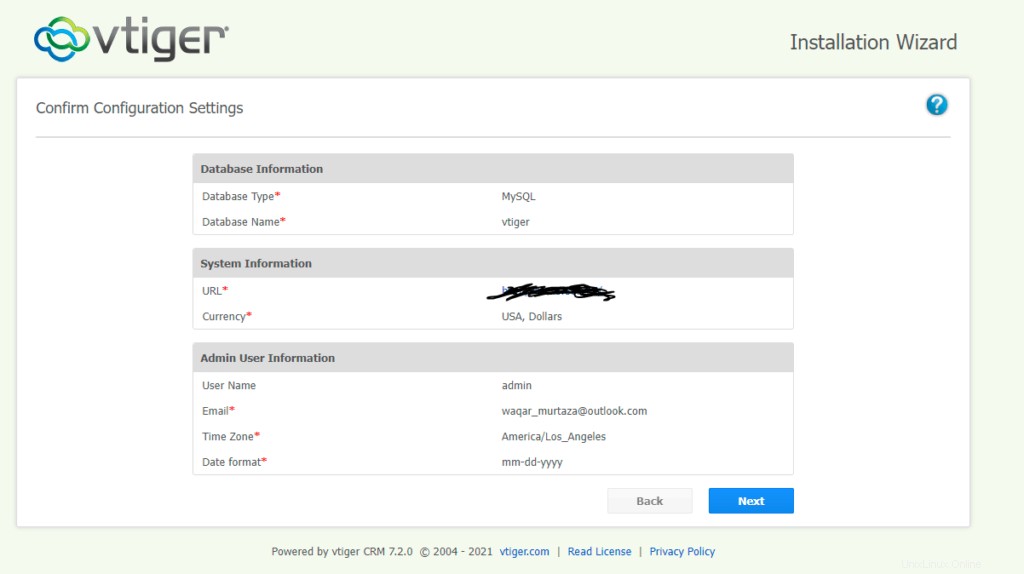
Ahora verifique la configuración como se menciona en la imagen de abajo y haga clic en Siguiente.

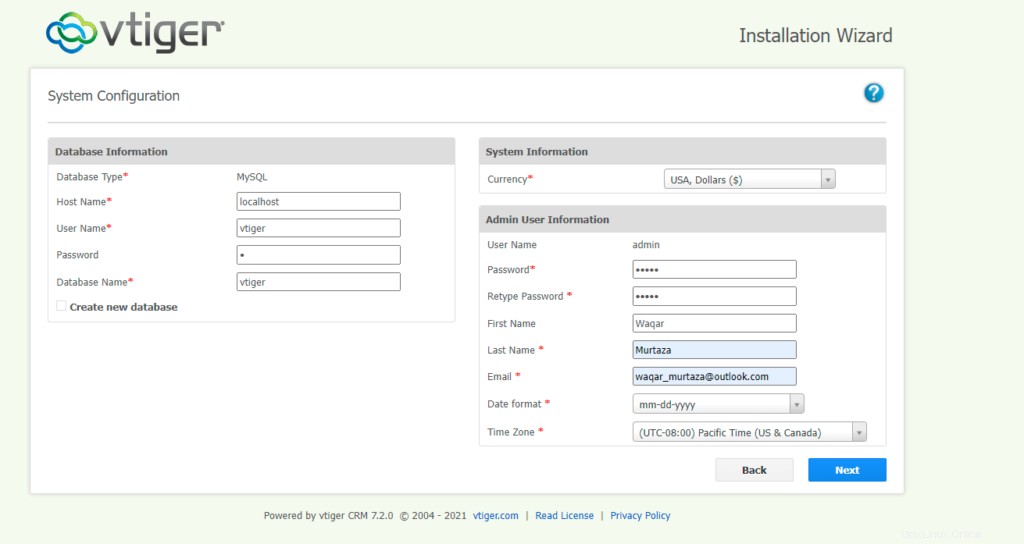
Proporcione los detalles de la base de datos como se ve en la imagen a continuación, configure la contraseña y proporcione los detalles solicitados.
Confirme la configuración y haga clic en siguiente.
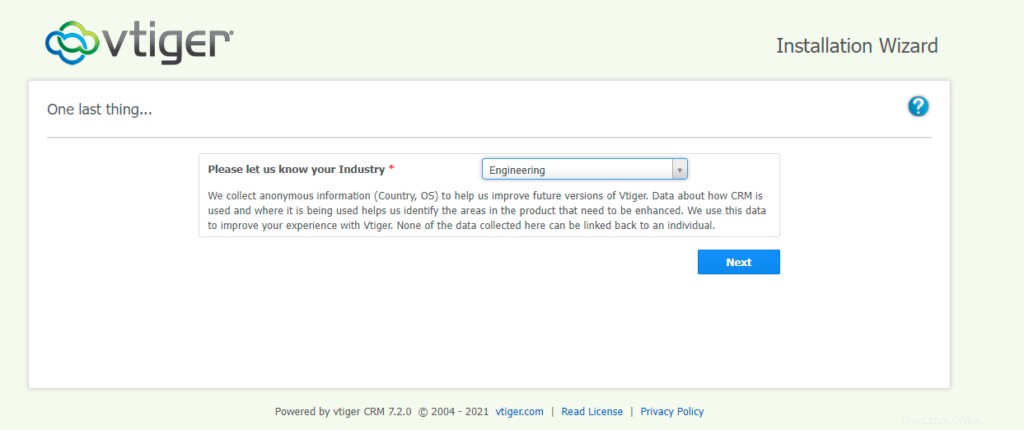
Confirme su industria y haga clic en Siguiente.
Luego espere a que se complete la instalación.
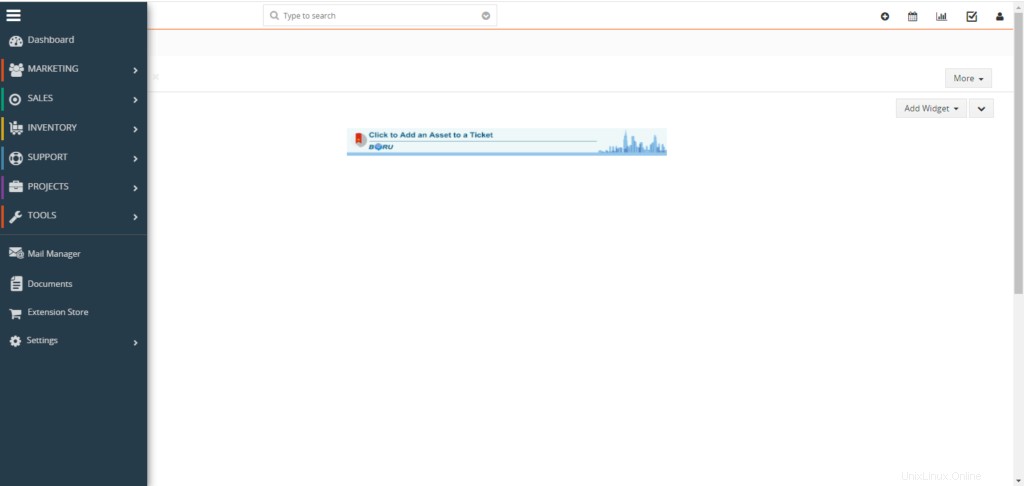
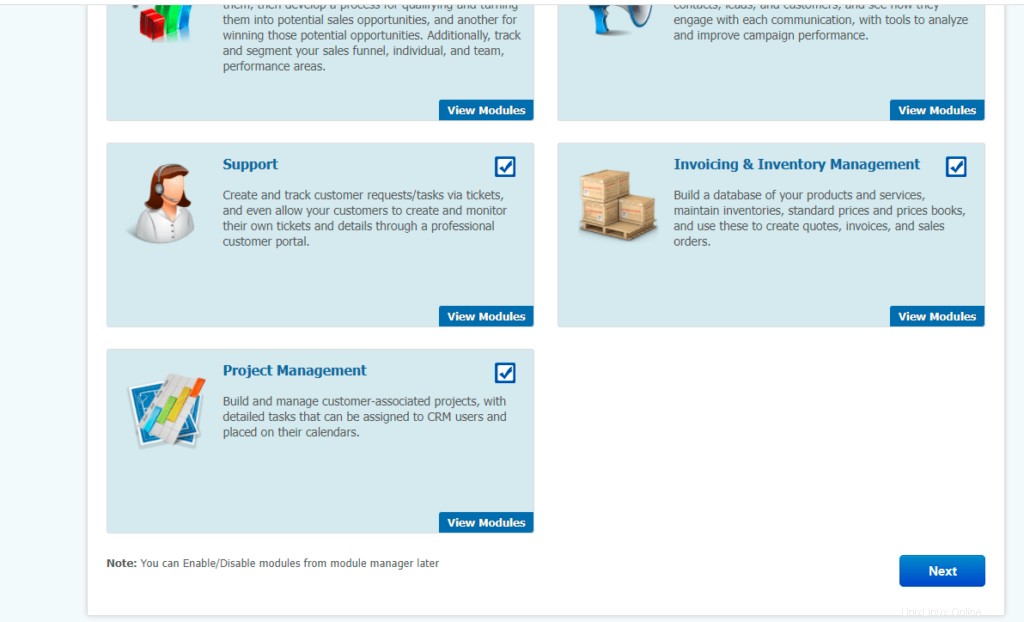
Ahora seleccione los módulos que desea usar en vTiger CRM y haga clic en Siguiente.
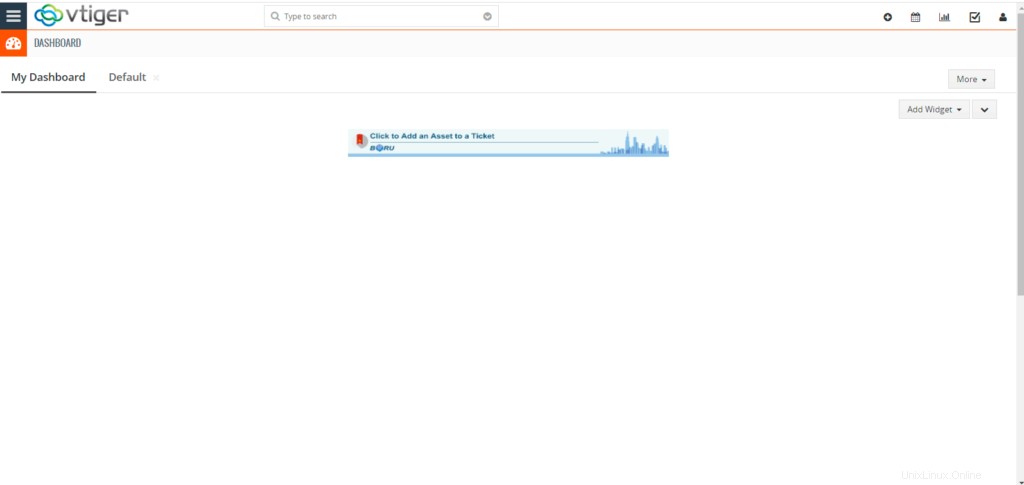
Ahora vTIGER CRM está instalado y listo para usar.