LAMP es una plataforma de desarrollo web gratuita y de código abierto que se utiliza para alojar sitios web dinámicos y de alto rendimiento. Consta de cuatro componentes de código abierto:Linux, Apache, MySQL/MariaDB y PHP. LAMP utiliza Linux como sistema operativo, Apache como servidor web, MySQL/MariaDB como base de datos y PHP como lenguaje de programación.
En este tutorial, explicaremos cómo instalar LAMP y protegerlo con SSL gratuito de Let's Encrypt en Ubuntu 18.04.
Requisitos
- Un Ubuntu 18.04 VPS nuevo en Atlantic.Net Cloud Platform.
- Un nombre de dominio válido dirigido a la dirección IP de su servidor. En este tutorial, usaremos example.com como dominio.
Paso 1:crear un servidor en la nube de Atlantic.Net
Primero, inicie sesión en su servidor en la nube de Atlantic.Net. Cree un nuevo servidor, eligiendo Ubuntu 18.04 como sistema operativo, con al menos 2 GB de RAM. Conéctese a su servidor en la nube a través de SSH e inicie sesión con las credenciales resaltadas en la parte superior de la página.
Una vez que haya iniciado sesión en su servidor Ubuntu 18.04, ejecute el siguiente comando para actualizar su sistema base con los últimos paquetes disponibles.
apt-get update -y
Paso 2:Instalación del servidor web Apache
Primero, instale el servidor web Apache con el siguiente comando:
apt-get install apache2 -y
Una vez que se haya completado la instalación, inicie el servicio Apache y habilítelo para que se inicie después de reiniciar el sistema con el siguiente comando:
systemctl start apache2
systemctl enable apache2
A continuación, verifique el servidor web Apache con el siguiente comando:
systemctl status apache2
El servidor web Apache ahora se está ejecutando y escuchando en el puerto 80. Abra su navegador web y escriba la URL http://your-server-ip. Debería ver la página predeterminada de Apache en la siguiente pantalla:
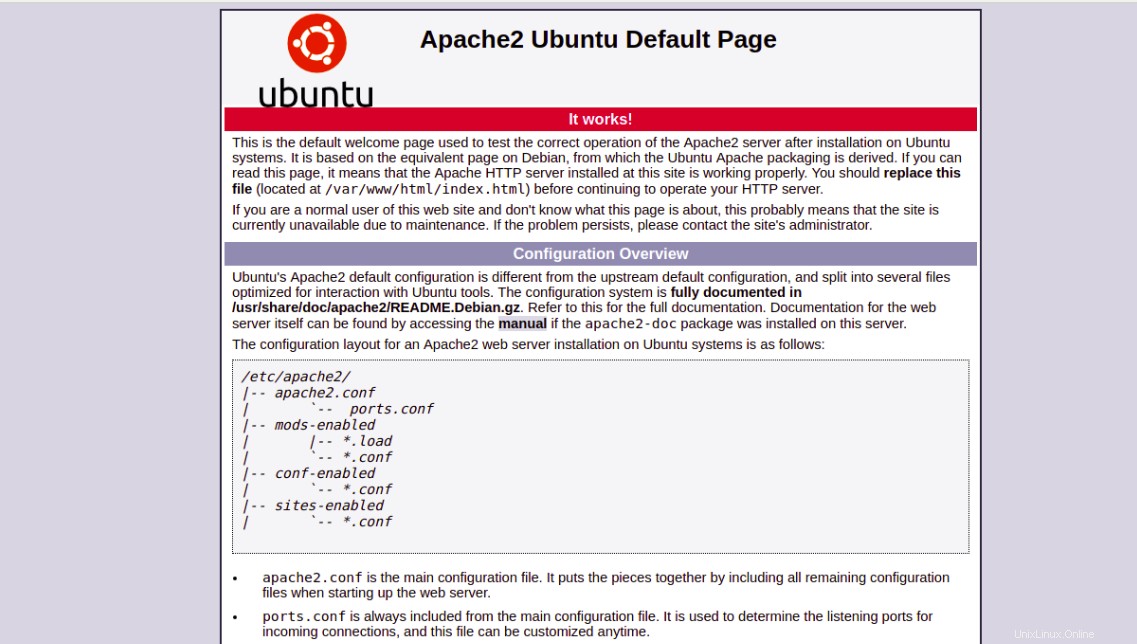
Eso significa que el servidor web Apache está funcionando como se esperaba.
Paso 3:Instalación del servidor de base de datos MariaDB
MariaDB es la bifurcación más popular del sistema de administración de bases de datos relacionales MySQL. Puede instalarlo ejecutando el siguiente comando:
apt-get install mariadb-server mariadb-client -y
Una vez instalado, inicie el servicio MariaDB y habilítelo para que se inicie después de reiniciar el sistema con el siguiente comando:
systemctl start mariadb
systemctl enable mariadb
mysql_secure_installation
Este script establecerá la contraseña raíz, eliminará a los usuarios anónimos, no permitirá el inicio de sesión raíz de forma remota y eliminará la base de datos de prueba y el acceso a ella, como se muestra a continuación:
Enter current password for root (enter for none): Press the Enter key
Set root password? [Y/n]: Y
New password: Enter password
Re-enter new password: Repeat password
Remove anonymous users? [Y/n]: Y
Disallow root login remotely? [Y/n]: Y
Remove test database and access to it? [Y/n]:  Y
Reload privilege tables now? [Y/n]:  Y
Paso 4:Instalación de PHP
apt-get install php php-cli php-mysql php-curl php-zip libapache2-mod-php -y
Una vez que todos los paquetes estén instalados, abra su archivo php.ini y modifique algunas configuraciones requeridas:
nano /etc/php/7.2/apache2/php.ini
Cambia las siguientes líneas. Los siguientes valores son excelentes configuraciones para un entorno LAMP:
memory_limit = 256M
upload_max_filesize = 100M
max_execution_time = 360
date.timezone = America/Chicago
Guarde y cierre el archivo. Luego, reinicie el servidor web Apache para aplicar la configuración.
systemctl restart apache2
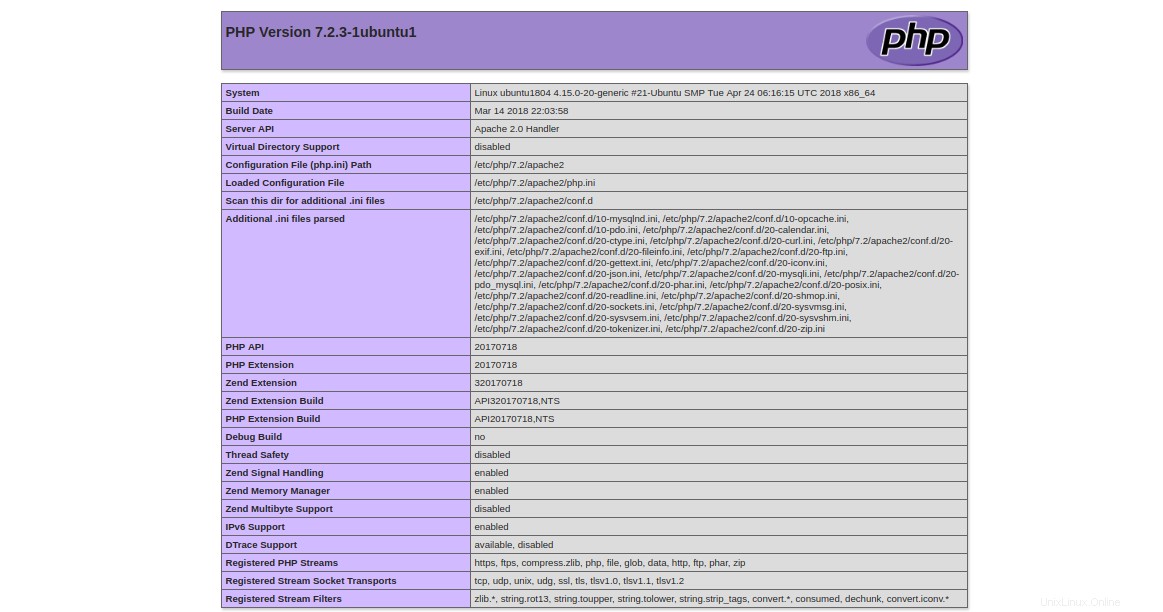
A continuación, cree un archivo info.php en su directorio raíz de documentos de Apache para probar PHP con Apache:
nano /var/www/html/info.php
Agregue la siguiente línea:
<?php phpinfo( ); ?>
Guarde y cierre el archivo. Luego, abra su navegador web y visite la URL http://your-server-ip/info.php. Debería ver la página de prueba de PHP predeterminada que se muestra en la siguiente pantalla.
Después de la prueba, se recomienda eliminar el archivo info.php por razones de seguridad.
rm -rf /var/www/html/info.php
Paso 5:creación de un host virtual
Primero, cree un archivo index.html para su dominio ejemplo.com.
mkdir /var/www/html/example.com
nano /var/www/html/example.com/index.html
Agregue las siguientes líneas:
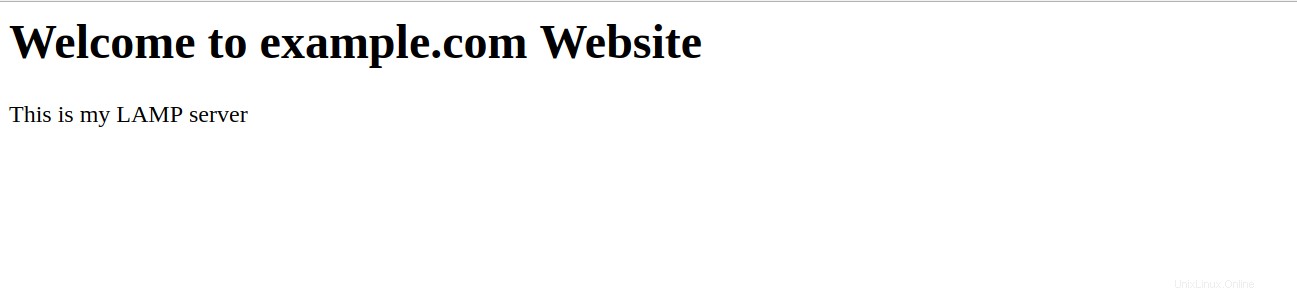
<html>
<title>example.com</title>
<h1>Welcome to example.com Website</h1>
<p>This is my LAMP server</p>
</html>
Guarde y cierre el archivo. Luego, cambie la propiedad del directorio example.com y otorgue los permisos necesarios:
chown -R www-data:www-data /var/www/html/example.com
chmod -R 755 /var/www/html/example.com
A continuación, deberá crear un archivo de configuración de host virtual de Apache para su dominio, ejemplo.com.
nano /etc/apache2/sites-available/example.com.conf
Agregue las siguientes líneas:
<VirtualHost *:80>
    ServerAdmin example@unixlinux.online
    ServerName example.com
    DocumentRoot /var/www/html/example.com
    DirectoryIndex index.html
    ErrorLog ${APACHE_LOG_DIR}/example.com_error.log
    CustomLog ${APACHE_LOG_DIR}/example.com_access.log combined
</VirtualHost>
Guarde y cierre el archivo cuando haya terminado.
Aquí hay una breve explicación de cada parámetro en el archivo anterior:
- Administrador del servidor: Especifique una dirección de correo electrónico del administrador del servidor.
- Nombre del servidor: Nombre de dominio asociado con la dirección IP de su servidor.
- Raíz del documento: Especifique la ubicación del contenido del sitio web.
- Índice de directorio: Especifique una página predeterminada para mostrar cuando se accede a un directorio.
- Registro de errores: Ubicación del archivo de registro de errores.
- Registro personalizado: Ubicación del archivo de registro de acceso.
A continuación, habilite el host virtual y reinicie el servicio web Apache para aplicar la configuración:
a2ensite example.com
systemctl restart apache2
Para probar su sitio web, abra su navegador web y escriba la URL http://example.com. Será redirigido a la siguiente página:
Paso 6:Protección de su sitio web con Let's Encrypt
En este punto, su sitio web funciona bien, pero no está protegido. Deberá protegerlo con SSL gratuito de Let's Encrypt.
Primero, deberá instalar un cliente Certbot en su servidor. Certbot es un cliente fácil de usar que se puede usar para descargar un certificado de Let's Encrypt y configurar el servidor web Apache para usar este certificado.
apt-get install software-properties-common apt-transport-https ca-certificates -y
add-apt-repository ppa:certbot/certbot
Una vez que se agrega el repositorio, actualice el repositorio e instale Certbot con el siguiente comando:
apt-get update -y
apt-get install certbot python-certbot-apache -y
A continuación, ejecute el siguiente comando para instalar el SSL gratuito de Let's Encrypt para el sitio web example.com:
certbot --apache -d example.com
Se le pedirá que proporcione su correo electrónico y acepte los términos del servicio, como se muestra a continuación:
Saving debug log to /var/log/letsencrypt/letsencrypt.log
Plugins selected: Authenticator apache, Installer apache
Enter email address (used for urgent renewal and security notices) (Enter 'c' to
cancel): example@unixlinux.online

- - - - - - - - - - - - - - - - - - - - - - - - - - - - - - - - - - - - - - - -
Please read the Terms of Service at
https://letsencrypt.org/documents/LE-SA-v1.2-November-15-2017.pdf. You must
agree in order to register with the ACME server at
https://acme-v02.api.letsencrypt.org/directory
- - - - - - - - - - - - - - - - - - - - - - - - - - - - - - - - - - - - - - - -
(A)gree/(C)ancel: A

- - - - - - - - - - - - - - - - - - - - - - - - - - - - - - - - - - - - - - - -
Would you be willing to share your email address with the Electronic Frontier
Foundation, a founding partner of the Let's Encrypt project and the non-profit
organization that develops Certbot? We'd like to send you email about our work
encrypting the web, EFF news, campaigns, and ways to support digital freedom.
- - - - - - - - - - - - - - - - - - - - - - - - - - - - - - - - - - - - - - - -
(Y)es/(N)o: Y
Obtaining a new certificate
Performing the following challenges:
http-01 challenge for example.com
Enabled Apache rewrite module
Waiting for verification...
Cleaning up challenges
Created an SSL vhost at /etc/apache2/sites-available/example.com-le-ssl.conf
Deploying Certificate to VirtualHost /etc/apache2/sites-available/example.com-le-ssl.conf
Enabling available site: /etc/apache2/sites-available/example.com-le-ssl.conf

Please choose whether or not to redirect HTTP traffic to HTTPS, removing HTTP access.
- - - - - - - - - - - - - - - - - - - - - - - - - - - - - - - - - - - - - - - -
1: No redirect - Make no further changes to the webserver configuration.
2: Redirect - Make all requests redirect to secure HTTPS access. Choose this for
new sites, or if you're confident your site works on HTTPS. You can undo this
change by editing your web server's configuration.
- - - - - - - - - - - - - - - - - - - - - - - - - - - - - - - - - - - - - - - -
Select the appropriate number [1-2] then [enter] (press 'c' to cancel): 2
Luego, seleccione la opción 2 y presione enter para descargar el certificado Let's Encrypt y configure el servidor web Apache para usar este certificado. Una vez que se haya completado el proceso de instalación, debería ver el siguiente resultado:
Enabled Apache rewrite module
Redirecting vhost in /etc/apache2/sites-enabled/example.com.conf to ssl vhost in /etc/apache2/sites-available/example.com-le-ssl.conf

- - - - - - - - - - - - - - - - - - - - - - - - - - - - - - - - - - - - - - - -
Congratulations! You have successfully enabled https://example.com

You should test your configuration at:
https://www.ssllabs.com/ssltest/analyze.html?d=example.com
- - - - - - - - - - - - - - - - - - - - - - - - - - - - - - - - - - - - - - - -

IMPORTANT NOTES:
 - Congratulations! Your certificate and chain have been saved at:
   /etc/letsencrypt/live/example.com/fullchain.pem
   Your key file has been saved at:
   /etc/letsencrypt/live/example.com/privkey.pem
   Your cert will expire on 2019-10-22. To obtain a new or tweaked
   version of this certificate in the future, simply run certbot again
   with the "certonly" option. To non-interactively renew *all* of
   your certificates, run "certbot renew"
 - Your account credentials have been saved in your Certbot
   configuration directory at /etc/letsencrypt. You should make a
   secure backup of this folder now. This configuration directory will
   also contain certificates and private keys obtained by Certbot so
   making regular backups of this folder is ideal.
 - If you like Certbot, please consider supporting our work by:

   Donating to ISRG / Let's Encrypt:   https://letsencrypt.org/donate
   Donating to EFF:                    https://eff.org/donate-le
Ahora, abra su navegador web y acceda a su sitio web de forma segura con la URL https://example.com.
Conclusión
En el tutorial anterior, aprendimos cómo instalar el servidor LAMP en Ubuntu 18.04 VPS. También aprendimos cómo proteger un servidor LAMP con SSL gratuito de Let's Encrypt. Ahora puede instalar fácilmente un servidor LAMP y protegerlo con SSL gratuito de Let's Encrypt en Ubuntu 18.04 utilizando nuestros servicios de alojamiento VPS.