LEMP es un modelo de código abierto de pilas de servicios web compuesto por cuatro componentes:Linux, Nginx, MariaDB y PHP. Una pila LEMP se utiliza para desarrollar e implementar aplicaciones web. La mayoría de las aplicaciones web se ejecutan en una pila LEMP, por lo que es muy importante que un administrador del sistema pueda proteger una pila LEMP con SSL. Si usted es un nuevo desarrollador de sitios web o un bloguero que busca mejorar el tráfico web orgánico, entonces es esencial tener un servidor web habilitado para SSL para SEO (optimización de motores de búsqueda).
Let's Encrypt es una autoridad de certificación gratuita y de código abierto que proporciona certificados SSL gratuitos. Let's Encrypt es una autoridad de certificación sin fines de lucro cuyo objetivo es crear una Web más segura mediante la promoción de la adopción generalizada de HTTPS.
En este tutorial, aprenderemos cómo proteger un servidor LEMP con SSL gratuito de Let's Encrypt en Ubuntu 18.04 VPS.
Requisitos
- Un VPS de servidor Ubuntu 18.04 nuevo en Atlantic.net Cloud.
- Un nombre de dominio válido dirigido a su dirección IP de VPS. En este tutorial, usaremos example.com.
Paso 1:crear el servidor en la nube de Atlantic.Net
Primero, inicie sesión en su servidor en la nube de Atlantic.Net. Cree un nuevo servidor, eligiendo Ubuntu 18.04 como sistema operativo, con al menos 2 GB de RAM. Conéctese a su servidor en la nube a través de SSH e inicie sesión con las credenciales resaltadas en la parte superior de la página.
Una vez que haya iniciado sesión en su servidor Ubuntu 18.04, ejecute el siguiente comando para actualizar su sistema base con los últimos paquetes disponibles.
apt-get update -y
Paso 2:instale LEMP en el servidor
Primero, instale LEMP en el servidor ejecutando el siguiente comando:
apt-get install nginx mariadb-server php php-common -y
Una vez que todos los paquetes estén instalados, inicie el servicio web Nginx y habilítelo para que se inicie después de reiniciar el sistema con el siguiente comando:
systemctl start nginx
systemctl enable nginx
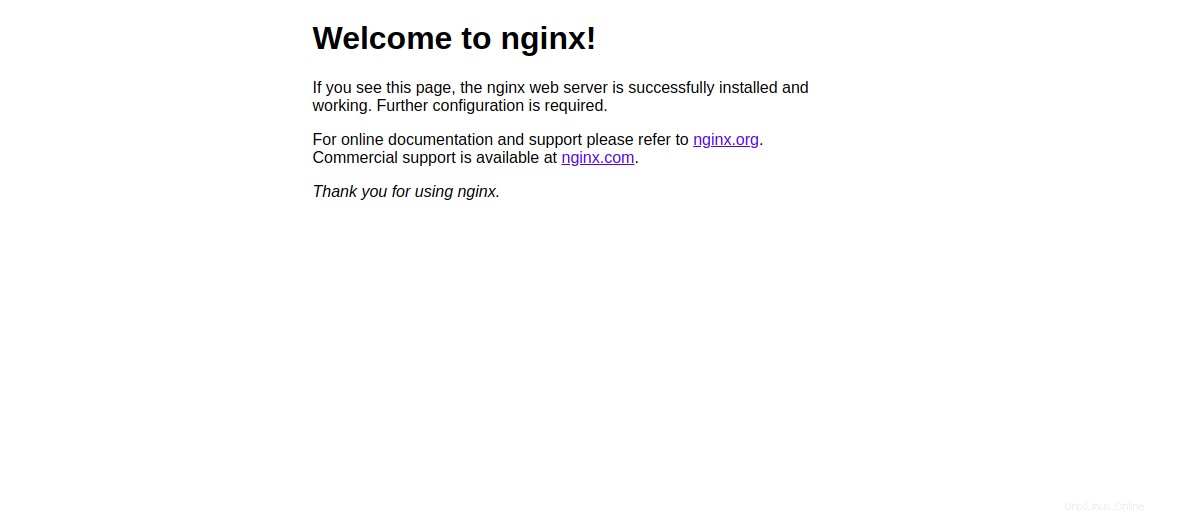
A continuación, abra su navegador web y escriba la URL http://example.com. Debería ver la página predeterminada de Nginx:
Paso 3:cree un sitio Nginx para su dominio
A continuación, deberá crear un host virtual Nginx para su dominio. Instalaremos SSL gratuito de Let's Encrypt en este sitio más adelante.
Puedes crearlo con el siguiente comando:
nano /etc/nginx/sites-available/example.com.conf
Agregue las siguientes líneas:
server {
   listen 80;

   root /var/www/html;

   index index.html;

   server_name example.com;

   location / {
      try_files $uri $uri/ =404;
   }

}
Guarde y cierre el archivo. Luego, habilite un host virtual Nginx con el siguiente comando:
ln -s /etc/nginx/sites-available/example.com.conf /etc/nginx/sites-enabled/
A continuación, compruebe si hay errores de sintaxis en Nginx con el siguiente comando:
nginx -t
Si todo va bien, debería ver el siguiente resultado:
nginx: the configuration file /etc/nginx/nginx.conf syntax is ok
nginx: configuration file /etc/nginx/nginx.conf test is successful
Finalmente, reinicie el servicio Nginx para aplicar los cambios de configuración:
systemctl restart nginx
A continuación, cree un archivo index.html para su dominio:
nano /var/www/html/index.html
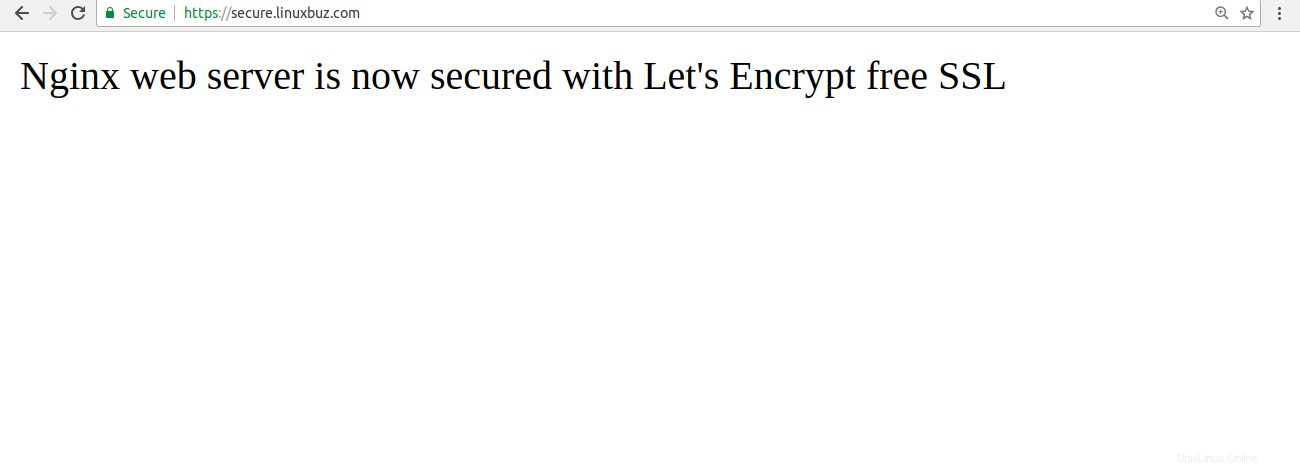
Add the following lines:

<html>
Nginx web server is now secured with Let's Encrypt free SSL
</html>
Guarde y cierre el archivo. Luego, cambia la propiedad del archivo a www-data con el siguiente comando:
chown www-data: /var/www/html/index.html
Paso 4:instale Let's Encrypt en su dominio
Nginx ahora está instalado y funcionando. Es hora de protegerlo con SSL gratuito de Let's Encrypt.
Primero, deberá instalar la herramienta Certbot para obtener el certificado SSL gratuito de Let's Encrypt e instalarlo en su dominio. Certbot es una herramienta gratuita y completa que automatiza el proceso de obtención e instalación de SSL en su dominio.
Puede agregar el repositorio usando el siguiente comando:
add-apt-repository ppa:certbot/certbot
Una vez que se agrega el repositorio, actualice el repositorio e instale Certbot con el siguiente comando:
apt-get update -y
apt-get install python-certbot-nginx -y
Una vez instalado, ejecute el siguiente comando para obtener e instalar el certificado para su dominio:
certbot --nginx -d example.com
Durante la instalación, deberá proporcionar su dirección de correo electrónico y aceptar los Términos de servicio como se muestra a continuación:
Saving debug log to /var/log/letsencrypt/letsencrypt.log
Plugins selected: Authenticator nginx, Installer nginx
Enter email address (used for urgent renewal and security notices) (Enter 'c' to
cancel): example@unixlinux.online

- - - - - - - - - - - - - - - - - - - - - - - - - - - - - - - - - - - - - - - -
Please read the Terms of Service at
https://letsencrypt.org/documents/LE-SA-v1.2-November-15-2017.pdf. You must
agree in order to register with the ACME server at
https://acme-v02.api.letsencrypt.org/directory
- - - - - - - - - - - - - - - - - - - - - - - - - - - - - - - - - - - - - - - -
(A)gree/(C)ancel: A

- - - - - - - - - - - - - - - - - - - - - - - - - - - - - - - - - - - - - - - -
Would you be willing to share your email address with the Electronic Frontier
Foundation, a founding partner of the Let's Encrypt project and the non-profit
organization that develops Certbot? We'd like to send you email about our work
encrypting the web, EFF news, campaigns, and ways to support digital freedom.
- - - - - - - - - - - - - - - - - - - - - - - - - - - - - - - - - - - - - - - -
(Y)es/(N)o: N
Escriba N y presiona Entrar continuar. Debería ver el siguiente resultado:
Obtaining a new certificate
Performing the following challenges:
http-01 challenge for example.com
Waiting for verification...
Cleaning up challenges
Deploying Certificate to VirtualHost /etc/nginx/sites-enabled/example.com.conf

Please choose whether or not to redirect HTTP traffic to HTTPS, removing HTTP access.
- - - - - - - - - - - - - - - - - - - - - - - - - - - - - - - - - - - - - - - -
1: No redirect - Make no further changes to the webserver configuration.
2: Redirect - Make all requests redirect to secure HTTPS access. Choose this for
new sites, or if you're confident your site works on HTTPS. You can undo this
change by editing your web server's configuration.
- - - - - - - - - - - - - - - - - - - - - - - - - - - - - - - - - - - - - - - -
Select the appropriate number [1-2] then [enter] (press 'c' to cancel):
Here, you will need to select option 1 or 2. Option 1 only downloads the Let's Encrypt certificate and does not change your web server configuration file.
Option 2 will download the Let's Encrypt certificate and configure your webserver config file to redirect all requests to secure HTTPS access.

Please select option 2 and hit Enter. Once the installation has been completed successfully, you should see the following output:

Redirecting all traffic on port 80 to ssl in /etc/nginx/sites-enabled/example.com.conf

- - - - - - - - - - - - - - - - - - - - - - - - - - - - - - - - - - - - - - - -
Congratulations! You have successfully enabled https://example.com

You should test your configuration at:
https://www.ssllabs.com/ssltest/analyze.html?d=example.com
- - - - - - - - - - - - - - - - - - - - - - - - - - - - - - - - - - - - - - - -

IMPORTANT NOTES:
- Congratulations! Your certificate and chain have been saved at:
/etc/letsencrypt/live/example.com/fullchain.pem
Your key file has been saved at:
/etc/letsencrypt/live/example.com/privkey.pem
Your cert will expire on 2019-11-17. To obtain a new or tweaked
version of this certificate in the future, simply run certbot again
with the "certonly" option. To non-interactively renew *all* of
your certificates, run "certbot renew"
- Your account credentials have been saved in your Certbot
configuration directory at /etc/letsencrypt. You should make a
secure backup of this folder now. This configuration directory will
also contain certificates and private keys obtained by Certbot so
making regular backups of this folder is ideal.
- If you like Certbot, please consider supporting our work by:

Donating to ISRG / Let's Encrypt: https://letsencrypt.org/donate
Donating to EFF: https://eff.org/donate-le
Ahora, abra su navegador web y escriba la URL https://example.com. Notará que indica que su sitio está protegido.
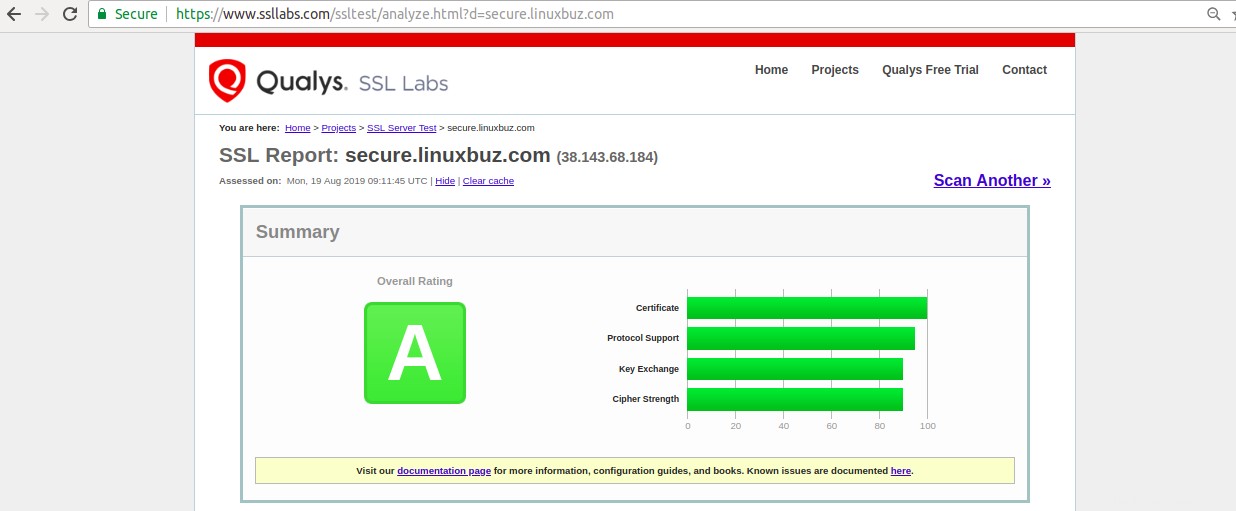
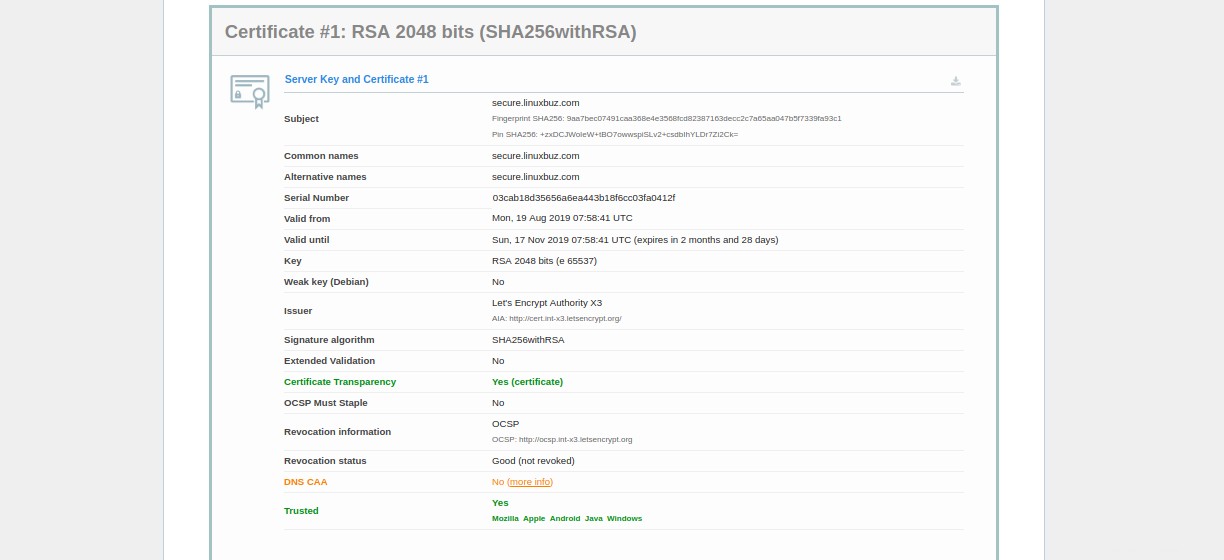
Mientras tanto, también puede probar su servidor utilizando SSL Labs Server Test:
Paso 5:configurar la renovación automática del certificado SSL de Let's Encrypt
Puede configurar la renovación automática editando el archivo crontab como se muestra a continuación:
crontab -e
Agregue la siguiente línea:
12 8 * * * root /usr/bin/certbot renew >/dev/null 2>&1
Guarde y cierre el archivo cuando haya terminado.
También puede renovar el certificado SSL manualmente con el siguiente comando:
certbot renew --dry-run
Si recibe un error, certbot renovará automáticamente el certificado para su sitio web. Si la renovación automática falla, se le notificará en la dirección de correo electrónico especificada.
Conclusión
En el artículo anterior, aprendió cómo asegurar un servidor LEMP con Let's Encrypt Free SSL en Ubuntu 18.04. Si está listo para comenzar con un servidor privado virtual para alojar sus sitios web, visite la página de alojamiento VPS de Atlantic.Net para encontrar un paquete de alojamiento adecuado para usted.