En esta guía de instalación, le mostraremos cómo instalar InvoicePlane en sistemas Ubuntu
avión de factura es una aplicación de código abierto autohospedada para administrar sus cotizaciones, facturas, clientes y pagos.
Está especialmente diseñado para que los dueños de negocios creen y administren sus facturas y pagos de clientes.
Instalar InvoicePlane
Simplemente siga los pasos a continuación:
- Instalar servidor LAMP.
- Instalar módulos php.
apt install php-gd php-json php-mbstring php-mysqli php-xmlrpc php libapache2-mod-php php-common php-mbstring php-xmlrpc php-soap php-gd php-xml php-intl php libapache2-mod-php php-mysql php-mysql wget unzip php-cli php-zip php-curl -y- Instale el servidor web apache y la base de datos maria como se muestra a continuación:
apt install apache2
apt install mariadb-server-10.3- Inicie y habilite apache y mariadb.
systemctl start apache2 mariadb
systemctl enable apache2 mariadb
systemctl status apache2 mariadb- Configure y asegure MariaDB de la siguiente manera:
mysql_secure_installation

NOTE: RUNNING ALL PARTS OF THIS SCRIPT IS RECOMMENDED FOR ALL MariaDB
      SERVERS IN PRODUCTION USE!  PLEASE READ EACH STEP CAREFULLY!

In order to log into MariaDB to secure it, we'll need the current
password for the root user.  If you've just installed MariaDB, and
you haven't set the root password yet, the password will be blank,
so you should just press enter here.

Enter current password for root (enter for none):
OK, successfully used password, moving on...

Setting the root password ensures that nobody can log into the MariaDB
root user without the proper authorisation.

Set root password? [Y/n] y
New password:
Re-enter new password:
Password updated successfully!
Reloading privilege tables..
 ... Success!


By default, a MariaDB installation has an anonymous user, allowing anyone
to log into MariaDB without having to have a user account created for
them.  This is intended only for testing, and to make the installation
go a bit smoother.  You should remove them before moving into a
production environment.

Remove anonymous users? [Y/n] y
 ... Success!

Normally, root should only be allowed to connect from 'localhost'.  This
ensures that someone cannot guess at the root password from the network.

Disallow root login remotely? [Y/n] y
 ... Success!

By default, MariaDB comes with a database named 'test' that anyone can
access.  This is also intended only for testing, and should be removed
before moving into a production environment.

Remove test database and access to it? [Y/n] y
 - Dropping test database...
 ... Success!
 - Removing privileges on test database...
 ... Success!

Reloading the privilege tables will ensure that all changes made so far
will take effect immediately.

Reload privilege tables now? [Y/n] y
 ... Success!

Cleaning up...

All done!  If you've completed all of the above steps, your MariaDB
installation should now be secure.

Thanks for using MariaDB!- Inicie sesión en el shell de MariaDB:
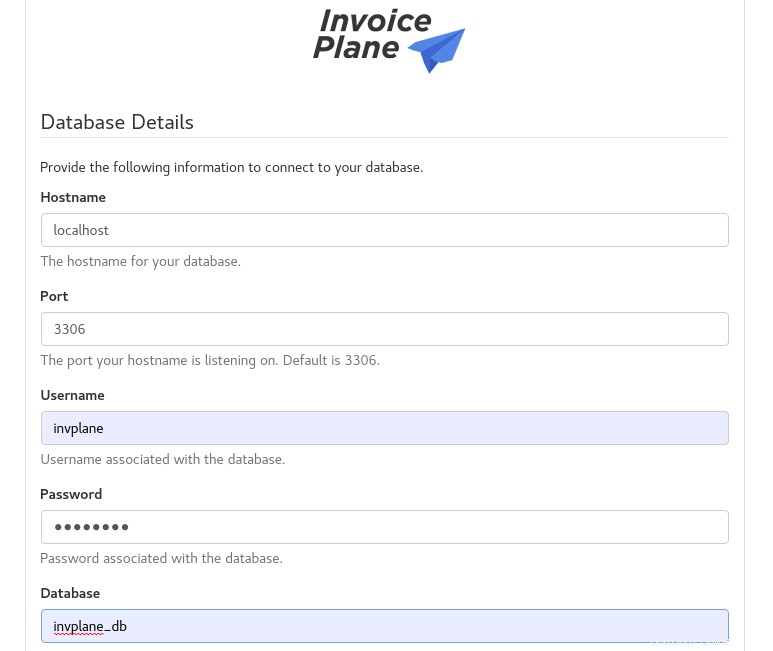
mysql -u root -pCREATE DATABASE invplane_db;
CREATE USER 'invplane'@'localhost' IDENTIFIED BY 'password';
GRANT ALL PRIVILEGES ON invplane_db.* TO 'invplane'@'localhost';
FLUSH PRIVILEGES;
EXIT- Descargue la última versión de InvoicePlane con el siguiente comando:
wget -c -O v1.5.11.zip https://invoiceplane.com/download/v1.5.11- Descomprima el archivo descargado.
mkdir /var/www/html/invoiceplane
unzip v1.5.11.zip -d /var/www/html/invoiceplane- Cambie el directorio al plano de facturación y copie los archivos requeridos al directorio raíz de Apache
cd /var/www/html/invoiceplane
sudo cp ipconfig.php.example ipconfig.php
sudo cp htaccess .htaccess- Establezca los permisos adecuados para el avión de facturación directorio:
sudo chown -R www-data:www-data /var/www/html/invoiceplane/
sudo chmod -R 755 /var/www/html/invoiceplane/
find /var/www/html/invoiceplane/ -type f -exec chmod -v 0644 '{}' \;- Cree un archivo de host virtual de Apache para InvoicePlane
vim /etc/apache2/sites-available/invoiceplane.conf- Luego agregue lo siguiente
<VirtualHost *:80>
     ServerAdmin admin@example.com
     DocumentRoot /var/www/html/invoiceplane
     ServerName example.com

     <Directory /var/www/html/invoiceplane/>
          Options +FollowSymlinks
          AllowOverride All
          Require all granted
     </Directory>

     ErrorLog ${APACHE_LOG_DIR}/error.log
     CustomLog ${APACHE_LOG_DIR}/access.log combined

</VirtualHost>- Habilitar archivo de host virtual apache y módulo de reescritura
sudo a2ensite invoiceplane.conf
sudo a2enmod rewrite- Reinicie el servicio Apache para aplicar todos los cambios
systemctl restart apache2- Acceda a InvoicePlane abriendo su navegador web y escriba la URL http://example.com O http://IP_Address/invoiceplane/index.php/welcome
Se le dirigirá de la siguiente manera:
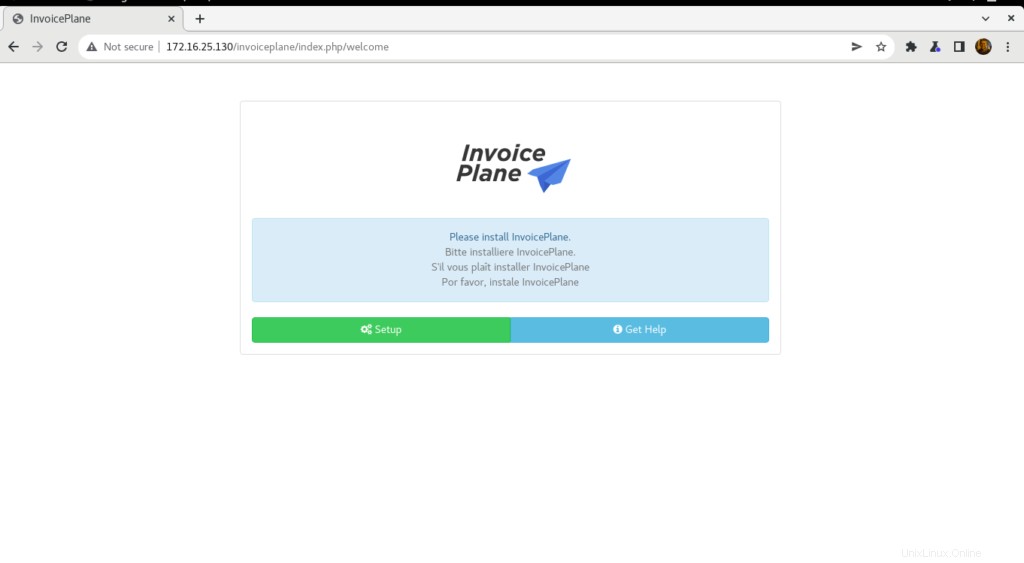
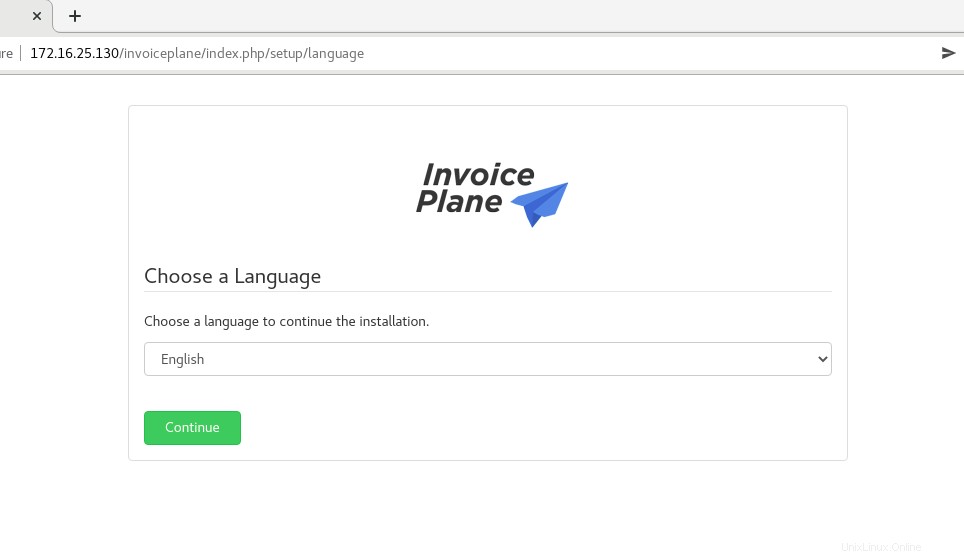
- Haga clic en Configuración luego elija un idioma y luego haga clic en Continuar
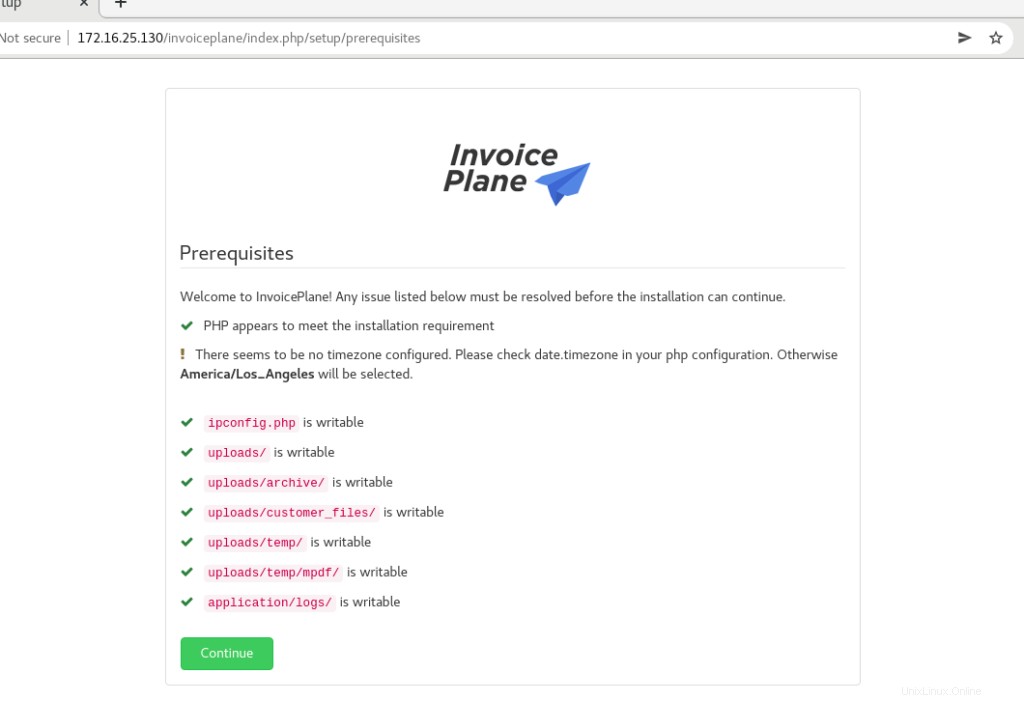
- Luego haga clic en Continuar
- Proporcione los detalles de su base de datos y haga clic en Intentar de nuevo
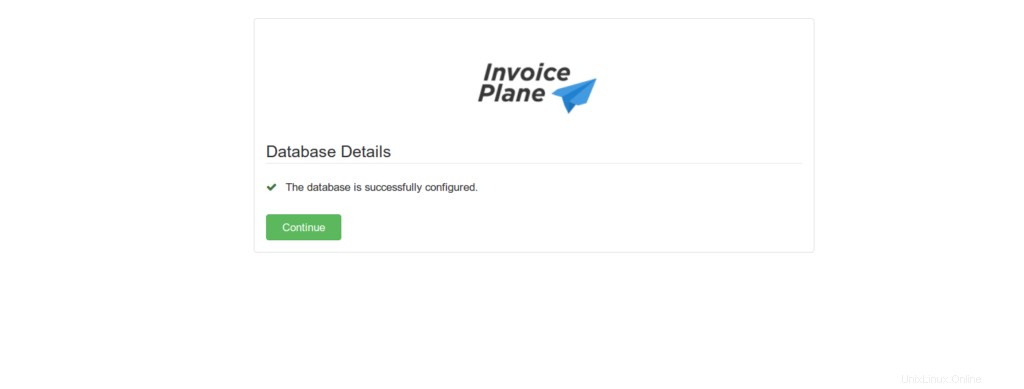
- La base de datos se configuró correctamente como se muestra a continuación. Haz clic en Continuar
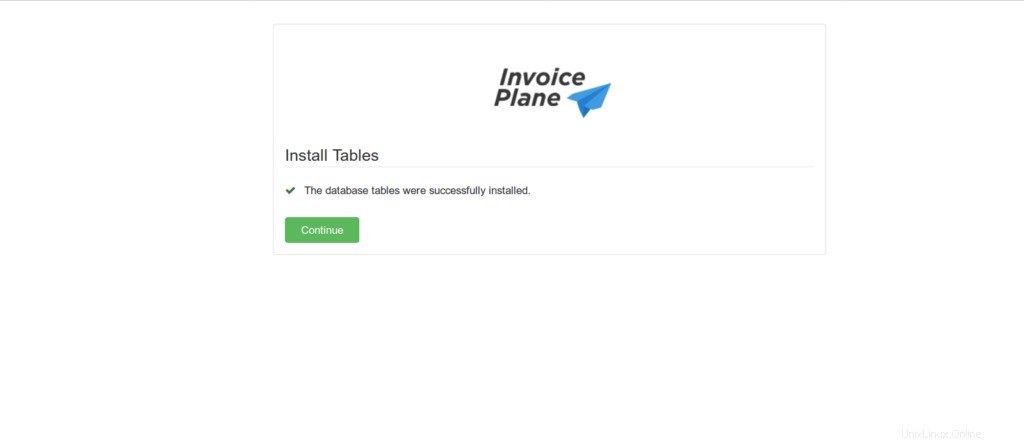
- También haga clic en Continuar .
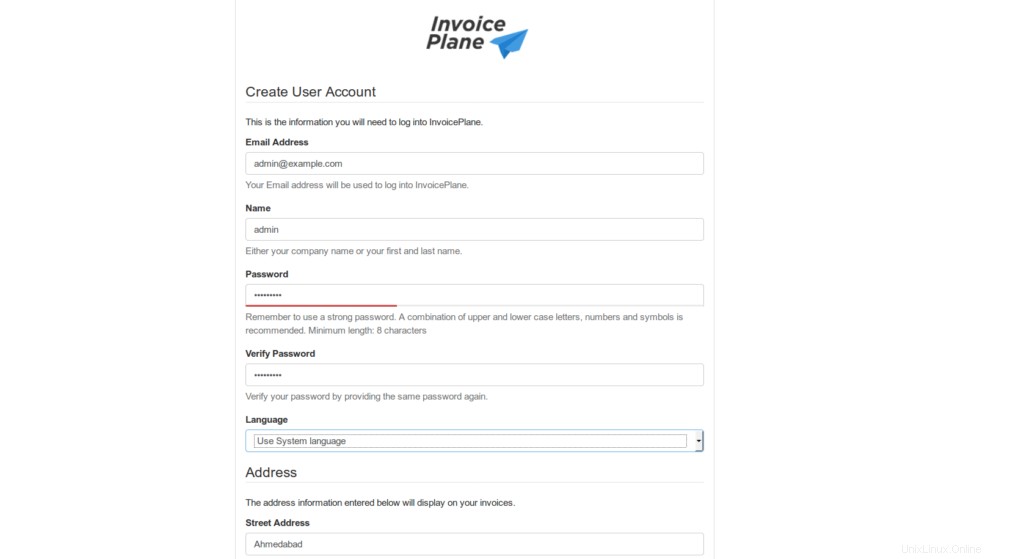
- Proporcione todos los detalles requeridos, luego haga clic en Continuar como se muestra a continuación.
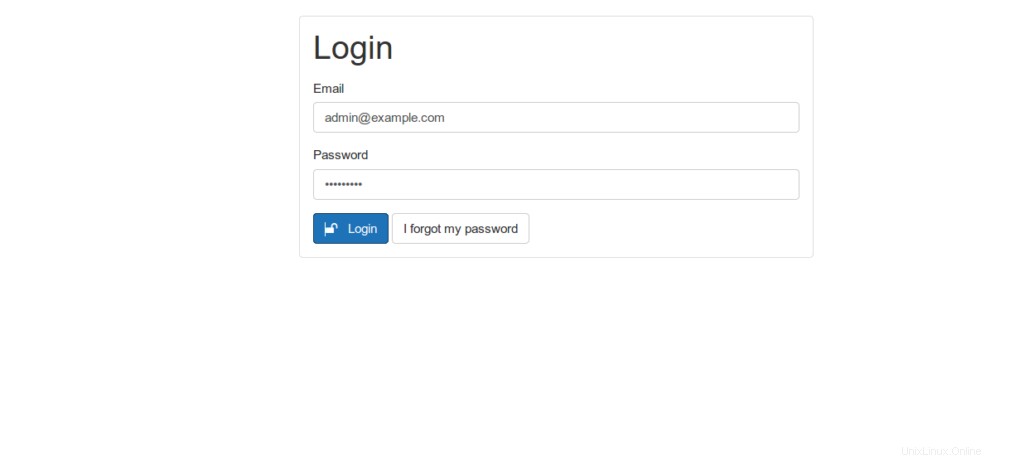
- Instalación completa, haga clic en iniciar sesión
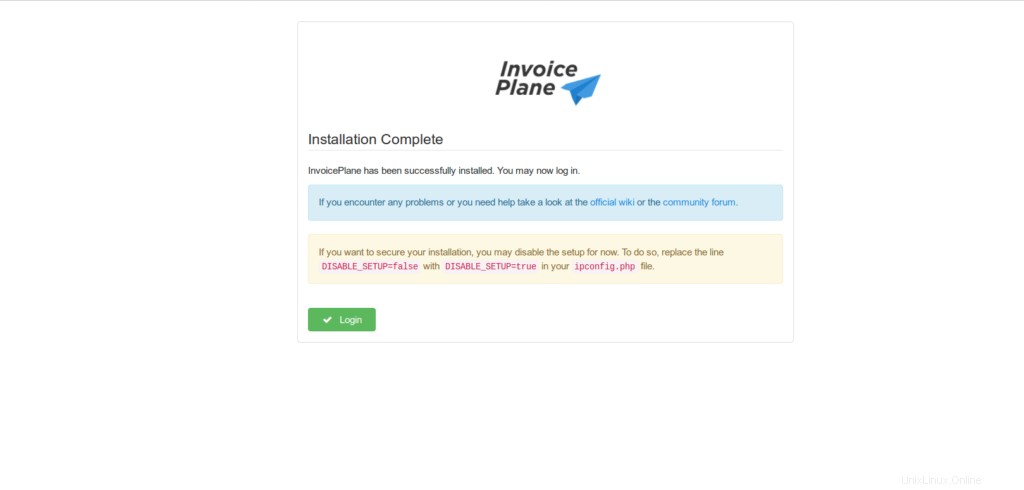
- Ingrese su nombre de usuario y contraseña de administrador y luego haga clic en Iniciar sesión
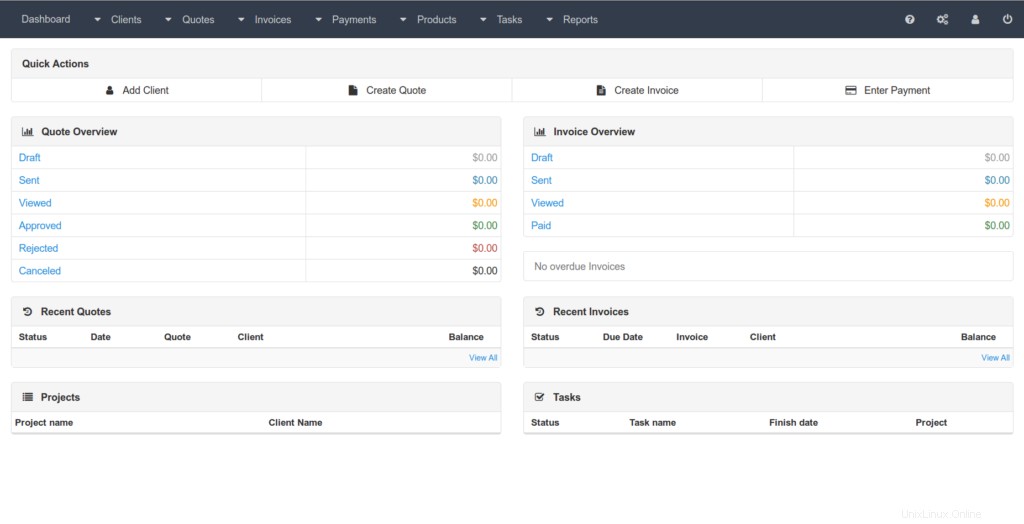
- Será redirigido al panel de InvoicePlane como se muestra a continuación.
Conclusión
Eso es todo
En este artículo ilustramos cómo instalar y configurar Invoiceplan en Ubuntu 20.04
Gracias