Hoy aprenderá cómo instalar FileRun en Ubuntu 20.04
Ejecución de archivo es una alternativa de Google Drive autohospedada. Es un administrador de archivos basado en web con todas las funciones con una interfaz de usuario fácil de usar. Es excelente para administrar su colección de fotos, películas y audio, o para compartir archivos con su familia y amigos.
Ejecución de archivo es una sincronización de escritorio de administración de archivos confiable y eficiente y uso compartido de archivos
Funciona muy bien en cualquier servidor, incluidas las cuentas de alojamiento o dispositivos pequeños como Raspberry Pi. Acceda a sus archivos desde cualquier lugar (escritorio, aplicación móvil o navegador).
Instalación
Simplemente siga los pasos a continuación para comenzar con fileRun
- Actualice y mejore los paquetes de su sistema
sudo apt update && sudo apt upgrade- Instalar servidor LAMP (pila LAMP).
- Instale los módulos php de la siguiente manera:
sudo apt install php-gd php-json php-mbstring php-mysqli php-xmlrpc php libapache2-mod-php php-common php-mbstring php-xmlrpc php-soap php-gd php-xml php-intl php libapache2-mod-php php-mysql php-mysql wget unzip php-cli php-zip php-curl -y- También tienes que instalar ionCube Módulo cargador para PHP, puede seguir los pasos de esta guía a continuación para instalarlo
Cómo instalar ionCube Loader en Ubuntu
- Instale el servidor web apache y la base de datos maria como se muestra a continuación:
sudo apt install apache2 mariadb-server-10.3 -y- Inicie y habilite apache y mariadb.
systemctl start apache2 mariadb
systemctl enable apache2 mariadb
systemctl status apache2 mariadb- Configure y asegure MariaDB de la siguiente manera:
mysql_secure_installation

NOTE: RUNNING ALL PARTS OF THIS SCRIPT IS RECOMMENDED FOR ALL MariaDB
      SERVERS IN PRODUCTION USE!  PLEASE READ EACH STEP CAREFULLY!

In order to log into MariaDB to secure it, we'll need the current
password for the root user.  If you've just installed MariaDB, and
you haven't set the root password yet, the password will be blank,
so you should just press enter here.

Enter current password for root (enter for none):
OK, successfully used password, moving on...

Setting the root password ensures that nobody can log into the MariaDB
root user without the proper authorisation.

Set root password? [Y/n] y
New password:
Re-enter new password:
Password updated successfully!
Reloading privilege tables..
 ... Success!


By default, a MariaDB installation has an anonymous user, allowing anyone
to log into MariaDB without having to have a user account created for
them.  This is intended only for testing, and to make the installation
go a bit smoother.  You should remove them before moving into a
production environment.

Remove anonymous users? [Y/n] y
 ... Success!

Normally, root should only be allowed to connect from 'localhost'.  This
ensures that someone cannot guess at the root password from the network.

Disallow root login remotely? [Y/n] y
 ... Success!

By default, MariaDB comes with a database named 'test' that anyone can
access.  This is also intended only for testing, and should be removed
before moving into a production environment.

Remove test database and access to it? [Y/n] y
 - Dropping test database...
 ... Success!
 - Removing privileges on test database...
 ... Success!

Reloading the privilege tables will ensure that all changes made so far
will take effect immediately.

Reload privilege tables now? [Y/n] y
 ... Success!

Cleaning up...

All done!  If you've completed all of the above steps, your MariaDB
installation should now be secure.

Thanks for using MariaDB!- Inicie sesión en el shell de MariaDB:
mysql -u root -pCREATE DATABASE filerun_db;
CREATE USER 'filerun_user'@'localhost' IDENTIFIED BY 'your_password';
GRANT ALL PRIVILEGES ON `filerun_db`.* TO 'filerun_user'@'localhost';
FLUSH PRIVILEGES;- Descargue la última versión de filerun con el siguiente comando:
wget -O FileRun.zip https://filerun.com/download-latest- descomprima el archivo descargado usando el siguiente comando:
unzip FileRun.zip -d /var/www/html/filerun/- Cambie algunos permisos de carpetas de la siguiente manera:
chown -R www-data:www-data /var/www/html/filerun
chmod -R 755 /var/www/html/filerun- Cree un archivo de configuración de PHP para FileRun
vim /etc/php/7.4/apache2/conf.d/filerun.iniLuego agregue la siguiente configuración:
expose_php = Off
error_reporting = E_ALL & ~E_NOTICE
display_errors = Off
display_startup_errors = Off
log_errors = On
ignore_repeated_errors = Off
allow_url_fopen = On
allow_url_include = Off
variables_order = "GPCS"
allow_webdav_methods = On
memory_limit = 128M
max_execution_time = 300
output_buffering = Off
output_handler = ""
zlib.output_compression = Off
zlib.output_handler = ""
safe_mode = Off
register_globals = Off
magic_quotes_gpc = Off
upload_max_filesize = 20M
post_max_size = 20M
enable_dl = Off
disable_functions = ""
disable_classes = ""
session.save_handler = files
session.use_cookies = 1
session.use_only_cookies = 1
session.auto_start = 0
session.cookie_lifetime = 0
session.cookie_httponly = 1
date.timezone = "UTC"- Guarde y cierre el archivo.
- Reinicie Apache.
sudo systemctl reload apache2Cree también un archivo de configuración de host virtual de Apache para FileRun .
vim /etc/apache2/sites-available/filerun.confLuego agregue el siguiente host virtual de la siguiente manera
<VirtualHost *:80>
        ServerName filerun.unixcop.com.com

        DocumentRoot /var/www/html/filerun

        <Directory "/var/www/html/filerun">
                Options Indexes FollowSymLinks
                AllowOverride All
                Require all granted
        </Directory>

        ErrorLog ${APACHE_LOG_DIR}/filerun.error.log
        CustomLog ${APACHE_LOG_DIR}/filerun.access.log combined
</VirtualHost>- Guarde y cierre el archivo, luego reinicie Apache con los siguientes comandos:
sudo a2ensite filerun.conf
sudo a2enmod rewrite
sudo systemctl restart apache2- Abra los puertos 80 y 443 en Firewall para permitir el tráfico HTTP y HTTPS:
sudo ufw allow 80/tcp
sudo ufw allow 443/tcp
sudo ufw reload- Acceder a FileRun Interfaz web abriendo su navegador web y accediendo a él usando la URL https://filerun.unixcop.com
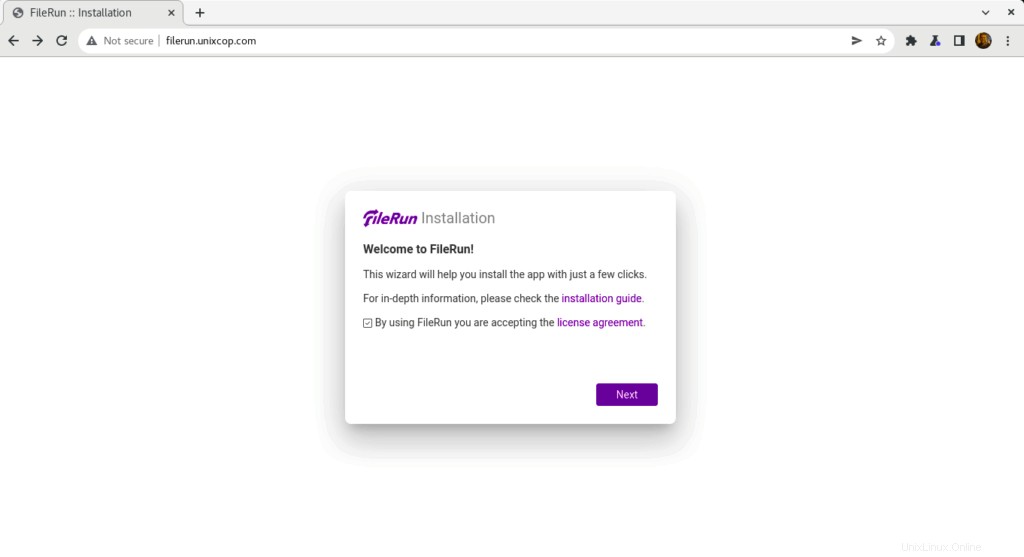
- Debería ver lo siguiente, haga clic en Siguiente para comenzar con FileRun instalación
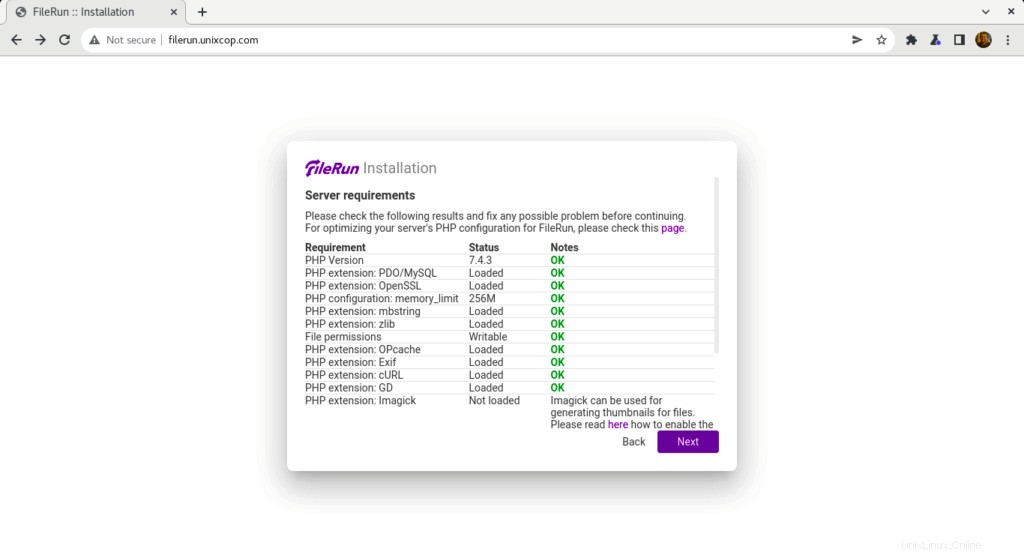
- FileRun verificará los requisitos del servidor para continuar con la instalación como se muestra a continuación
- Ingrese la información de conexión de su base de datos que creamos antes y luego haga clic en Siguiente .

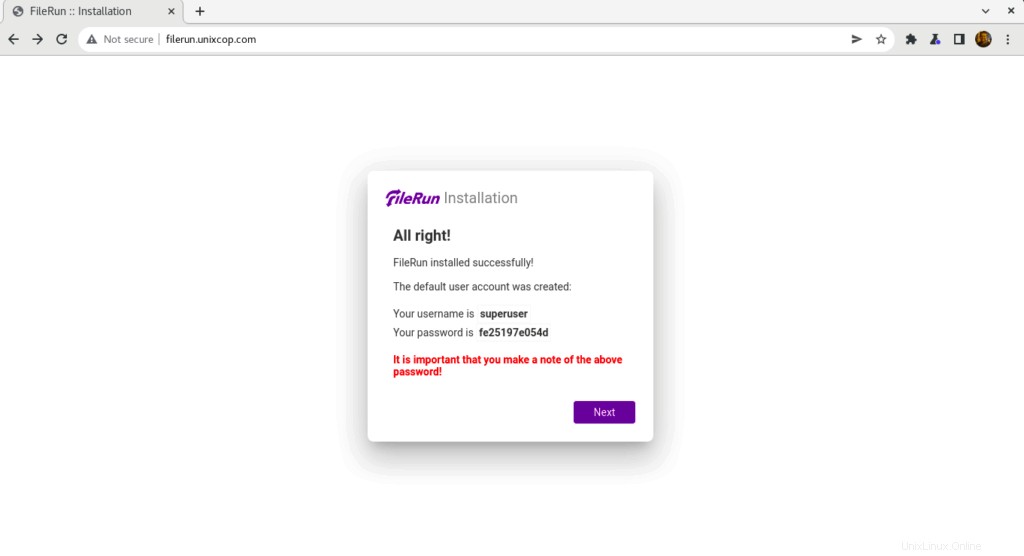
- Se creó el usuario predeterminado para FileRun y debe anotar estas credenciales para poder iniciar sesión en filerun
- Use las credenciales como se muestra arriba en la captura de pantalla para iniciar sesión en Filerun como se muestra a continuación
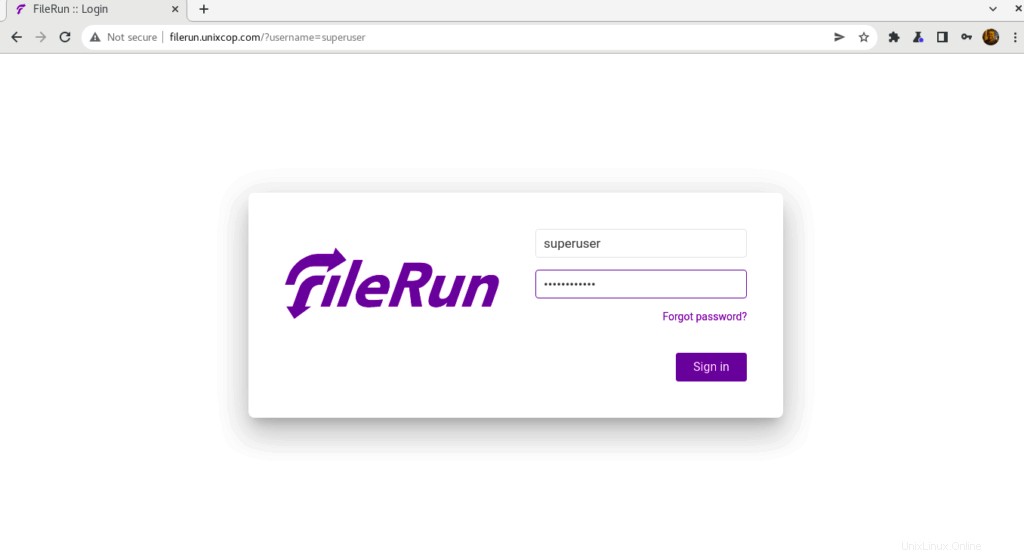
- Será dirigido al panel de control de FileRun
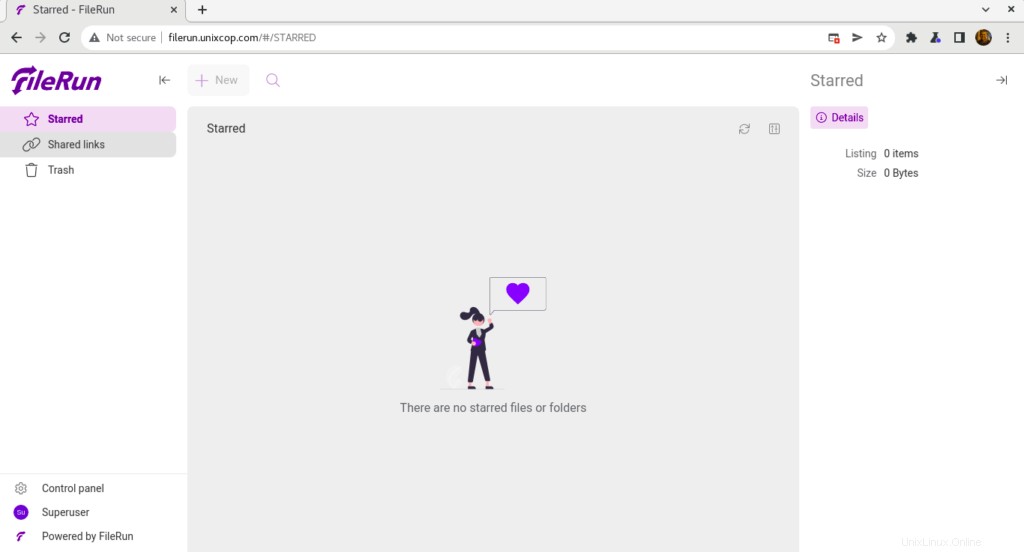
¡Felicidades! Ha instalado correctamente FileRun.
Conclusión
Eso es todo
En esta guía, le mostramos cómo instalar FileRun en Ubuntu 20.04
gracias