Pila LEMP significa pila Linux, Nginx, MariaDB y PHP. Es una pila de tecnología ampliamente utilizada para alojar sitios web y blogs.
Este tutorial le muestra cómo instalar Nginx con compatibilidad con PHP (a través de PHP-FPM) y compatibilidad con MySQL en Ubuntu 16.04.
Instalar la pila LEMP
Instalar Nginx
Descargue la clave de firma del sitio web oficial.
wget http://nginx.org/keys/nginx_signing.key
Agréguelo para evitar advertencias durante la instalación de nginx.
sudo apt-key add nginx_signing.key
Agregue el repositorio Nginx colocando la siguiente información.
echo "deb http://nginx.org/packages/mainline/ubuntu xenial nginx" | sudo tee /etc/apt/sources.list.d/nginx.list
Actualizar repositorios.
sudo apt-get update
Instale Nginx usando el siguiente comando.
sudo apt-get install -y nginx
Inicie el servicio Nginx después de la instalación.
sudo systemctl start nginx
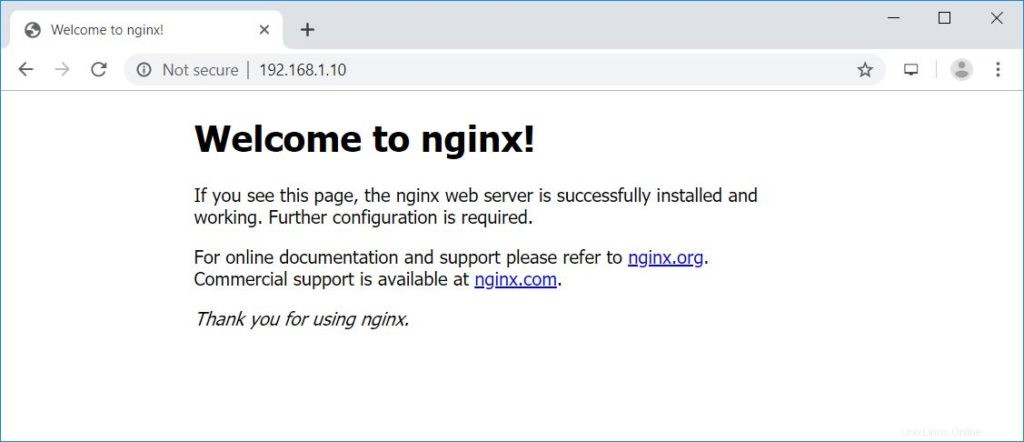
Abra un navegador web y visite http://your-ip-ad-ress.
Debería ver la siguiente página, y esta página confirma que Nginx se instaló correctamente en el servidor.
La raíz del documento nginx predeterminada en Ubuntu 16.04 es /usr/share/nginx/html/. Los archivos de configuración están en el directorio /etc/nginx.
Instalar MariaDB
Ubuntu 16.04 incluye MariaDB v10.0, que ya está al final de su vida útil. Entonces, instalaremos MariaDB v10.4 desde el repositorio oficial.
Agregue el repositorio MariaDB en su sistema.
sudo apt-get install -y software-properties-common

sudo apt-key adv --recv-keys --keyserver hkp://keyserver.ubuntu.com:80 0xF1656F24C74CD1D8

sudo add-apt-repository 'deb [arch=amd64,arm64,i386,ppc64el] http://nyc2.mirrors.digitalocean.com/mariadb/repo/10.4/ubuntu xenial main'

sudo apt-get update
Instale MariaDB usando el siguiente comando.
sudo apt-get install -y mariadb-server mariadb-client
A continuación, asegure la instalación de MariaDB con el comando mysql_secure_installation.
NOTE: RUNNING ALL PARTS OF THIS SCRIPT IS RECOMMENDED FOR ALL MariaDB
      SERVERS IN PRODUCTION USE!  PLEASE READ EACH STEP CAREFULLY!

In order to log into MariaDB to secure it, we'll need the current
password for the root user. If you've just installed MariaDB, and
haven't set the root password yet, you should just press enter here.

Enter current password for root (enter for none):  << No Password - Press Enter
OK, successfully used password, moving on...

Setting the root password or using the unix_socket ensures that nobody
can log into the MariaDB root user without the proper authorisation.

You already have your root account protected, so you can safely answer 'n'.

Switch to unix_socket authentication [Y/n] N << Disabling Unix Socket login and enabling password Login
 ... skipping.

You already have your root account protected, so you can safely answer 'n'.

Change the root password? [Y/n] Y  << Change MariaDB root password
New password:  << Enter Password
Re-enter new password:  << Re-Enter Password
Password updated successfully!
Reloading privilege tables..
 ... Success!


By default, a MariaDB installation has an anonymous user, allowing anyone
to log into MariaDB without having to have a user account created for
them.  This is intended only for testing, and to make the installation
go a bit smoother.  You should remove them before moving into a
production environment.

Remove anonymous users? [Y/n] Y  << Remove Anonymous users
 ... Success!

Normally, root should only be allowed to connect from 'localhost'.  This
ensures that someone cannot guess at the root password from the network.

Disallow root login remotely? [Y/n] Y  << Disallow root login remotely
 ... Success!

By default, MariaDB comes with a database named 'test' that anyone can
access.  This is also intended only for testing, and should be removed
before moving into a production environment.

Remove test database and access to it? [Y/n] Y  << Remove test database
 - Dropping test database...
 ... Success!
 - Removing privileges on test database...
 ... Success!

Reloading the privilege tables will ensure that all changes made so far
will take effect immediately.

Reload privilege tables now? [Y/n] Y  << Reload privilege
 ... Success!

Cleaning up...

All done!  If you've completed all of the above steps, your MariaDB
installation should now be secure.

Thanks for using MariaDB!
Instalar PHP
Lo siguiente es instalar PHP a través de PHP-FPM (PHP-FPM (Administrador de procesos FastCGI), es una implementación alternativa de PHP FastCGI. Tiene algunas características adicionales útiles para sitios de cualquier tamaño, especialmente sitios más ocupados).
Ubuntu 16.04 incluye PHP-FPM v7.0, que ya está al final de su vida útil. Entonces, instalaremos PHP-FPM v7.3 desde el repositorio de Ondřej Surý.
LEA: Cómo instalar PHP 7.3/7.2/7.1 en Ubuntu 16.04
Agrega el repositorio.
sudo add-apt-repository ppa:ondrej/php

sudo apt-get update
Instale PHP-FPM v7.3 usando el siguiente comando.
sudo apt-get install -y php7.3-fpm php7.3-mysql php7.3-cli
Edite el archivo a continuación para configurar PHP-FPM para usar una conexión TCP en lugar de un socket Unix.
sudo nano /etc/php/7.3/fpm/pool.d/www.conf
Cambie el parámetro de escucha que se muestra a continuación.
listen = 127.0.0.1:9000
Pila LAMP de prueba
Vamos a crear un host virtual basado en nombres en el servidor Nginx para obtener los siguientes detalles.
Nombre del servidor: servidor.itzgeek.local
Raíz del documento: /usr/share/nginx/html/server.itzgeek.local
Cree el archivo de configuración llamado virtual.conf en el directorio /etc/nginx/conf.d/.
sudo nano /etc/nginx/conf.d/virtual.conf
Agrega el siguiente contenido.
server {
   server_name server.itzgeek.local;
   root /usr/share/nginx/html/server.itzgeek.local;

   location / {
       index index.html index.htm index.php;
   }

   location ~ \.php$ {
      include        /etc/nginx/fastcgi_params;
      fastcgi_pass   127.0.0.1:9000;
      fastcgi_index  index.php;
      fastcgi_param SCRIPT_FILENAME $document_root$fastcgi_script_name;
   }
}
Cree el directorio raíz del documento.
sudo mkdir -p /usr/share/nginx/html/server.itzgeek.local
Para probar el PHP, coloque un archivo PHP en la raíz del documento del servidor virtual creado.
En la terminal copia/pega la siguiente línea:
echo "<?php phpinfo(); ?>" | sudo tee /usr/share/nginx/html/server.itzgeek.local/index.php
Reinicie los servicios.
sudo systemctl restart nginx

sudo systemctl restart php7.3-fpm
En su sistema cliente, cree una entrada de host para su dominio (server.itzgeek.local) en el archivo /etc/hosts en caso de que su entorno no tenga un servidor DNS.
sudo nano /etc/hosts
A la entrada del anfitrión le gustará más abajo
192.168.1.10 server.itzgeek.local
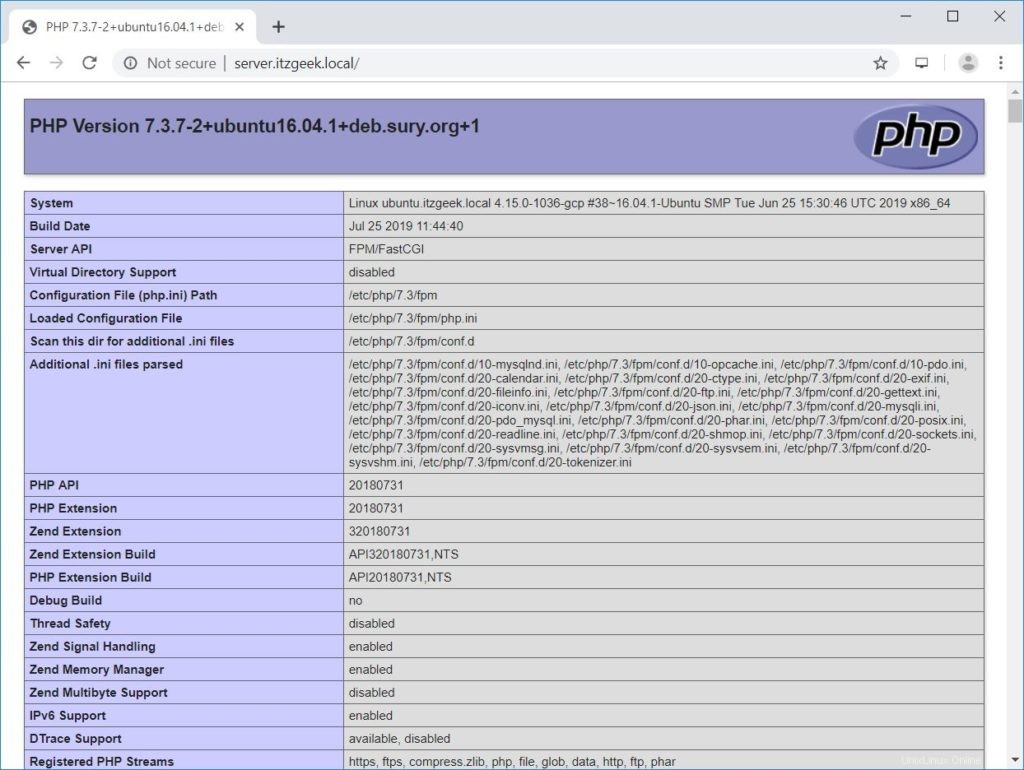
Ahora abra su navegador web y escriba su dominio en la dirección web:
http://servidor.itzgeek.localLa página se verá como a continuación:
A partir de la captura de pantalla anterior, PHP funciona y funciona a través de FPM/FastCGI, como se muestra en la línea API del servidor.
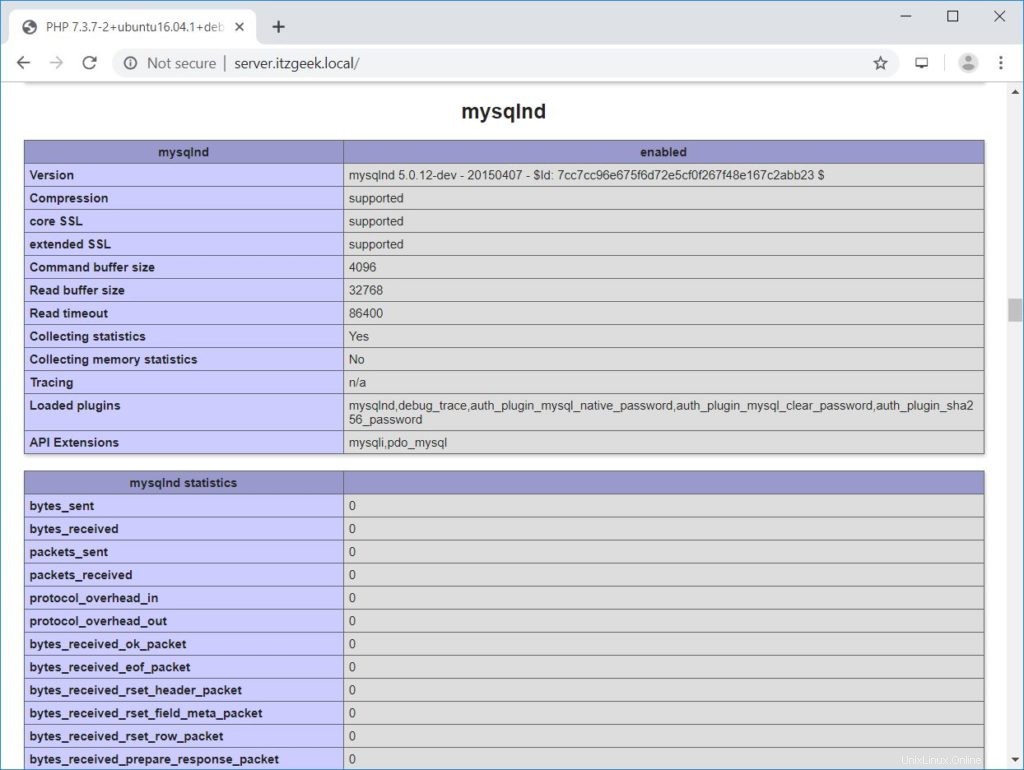
Si se desplaza hacia abajo, verá todos los módulos que están habilitados en PHP. La siguiente captura de pantalla muestra información del módulo MySQL.
Conclusión
Eso es todo. Espero que haya aprendido a instalar LEMP Stack en Ubuntu 16.04. Considere configurar el certificado Let's Encrypt para su dominio para mejorar la seguridad. Comparta sus comentarios en la sección de comentarios.