En este breve tutorial, le mostraremos cómo instalar VirtualBox Guest Additions en el escritorio RHEL 7 gnome. Para comenzar, simplemente inicie el sistema virtual RHEL 7. Primero instalaremos todos los requisitos previos. Para hacer eso, abra la terminal e ingrese los siguientes comandos de Linux:
[root@rhel7 ~]# yum groupinstall 'Development Tools'
así como necesitaremos el paquete de desarrollo del kernel:
[root@rhel7 ~]# yum install kernel-devel
Después de la instalación, vaya al menú de VirtualBox:Virtual box menu -> Devices -> Insert Guest Additions CD image que aparecerá la siguiente imagen:
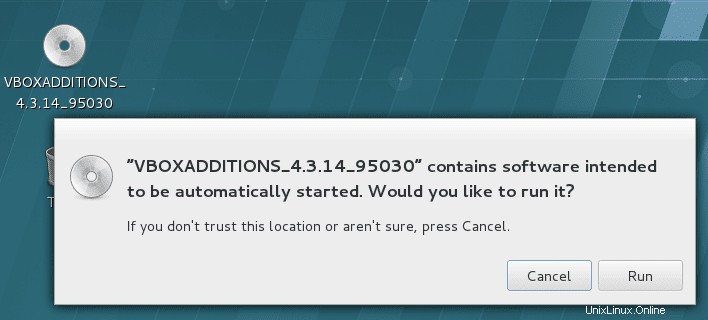
Cuando presione "EJECUTAR", comenzará la instalación real de las adiciones de Virtualbox Guest:
Verifying archive integrity... All good.
Uncompressing VirtualBox 4.3.14 Guest Additions for Linux............
VirtualBox Guest Additions installer
Copying additional installer modules ...
Installing additional modules ...
Removing existing VirtualBox non-DKMS kernel modules       [  OK  ]
Building the VirtualBox Guest Additions kernel modules
Building the main Guest Additions module                   [  OK  ]
Building the shared folder support module                  [  OK  ]
Building the OpenGL support module                         [  OK  ]
Doing non-kernel setup of the Guest Additions              [  OK  ]
Starting the VirtualBox Guest Additions                    [  OK  ]
Installing the Window System drivers
Installing X.Org Server 1.15 modules                       [  OK  ]
Setting up the Window System to use the Guest Additions    [  OK  ]
You may need to restart the hal service and the Window System (or just restart
the guest system) to enable the Guest Additions.

Installing graphics libraries and desktop services componen[  OK  ]
Reinicie su sistema para que se realicen las adiciones de Virtualbox Guest.